No products in the cart.
Marijuana Education
How to Fix Cannabis Light Burn
Cannabis light burn might occur for various reasons, particularly ineffective illumination, and the symptoms are similar to other problems like heat stress or nutritional deficits.
Light is a vital source for plants, but it can be harmful in excess. Some growers rarely consider the intensity of their beams until their buds turn white or leaves start yellowing.
Understanding the symptoms is crucial, as the issue can severely affect your crops if left untreated.
So, how can you tell if your plants are suffering from light burn, and what can you do?
Stick around to learn about the causes, symptoms, treatments, and preventive measures.
Cannabis light burn: What is it, and what causes it?
Cannabis light burn primarily occurs when grow lights are too close to the plants, causing tissue damage from the heat. It’s common in indoor cultivation due to inefficient or too-powerful lamps.
Cannabis light stress typically affects the sections lit directly, starting with the highest point of your plant.
Chlorophyll, the green pigment on marijuana leaves, aids in light absorption. Excessive amounts, however, might trigger bleaching and interfere with cannabis photosynthesis.
Too much light on marijuana plants can severely damage them at any point during their life cycle. Some growers observe symptoms as early as the seedling stage, while others see them manifest much later.
This problem doesn’t usually occur in outdoor plants but can still happen after prolonged exposure to the scorching sun.
What else can cause it? Let’s take a look.
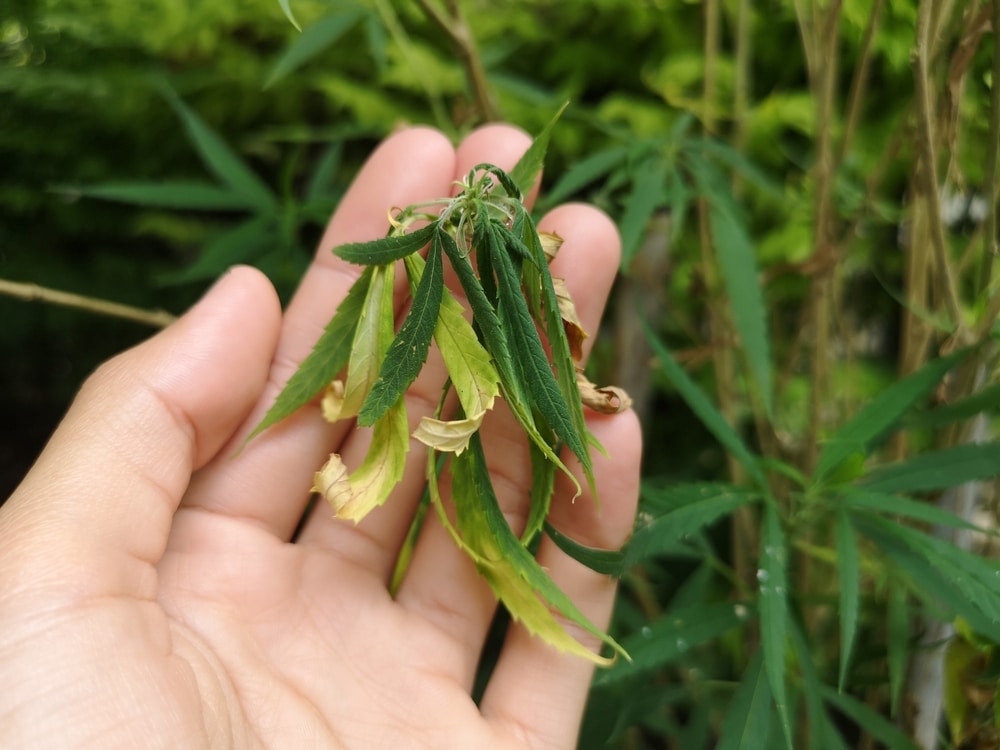
High light stress and light burn
Plants require adequate carbon dioxide (CO2), water, and nutrient levels for healthy growth. When they sense excessive temperature, they need more resources to cool down.
Plants experience light stress when exposed to a powerful source without being able to consume enough resources. Their leaves may begin to fall off or turn brown, and they may perish.
Low light stress and light burn
Low light stress affects plants by limiting photosynthesis due to insufficient energy supply, preventing them from producing chlorophyll.
The leaves might grow slower or wither and fall off in extreme cases.
Signs and symptoms of light burn
Light burn on cannabis is usually easy to identify, as its symptoms are clear. Your plant may show specific signs, like bleached buds or burned leaf tips, at a specific point.
Weed light burn symptoms may not immediately manifest, but you’ll notice it when new plant growth emerges. It’ll be lighter instead of bright green, and the crop will start drooping.
Identifying these warning signs sooner can reduce harm and help you get healthy crops with a profitable harvest.
Let’s explore some of the symptoms to look for.
Bleached buds
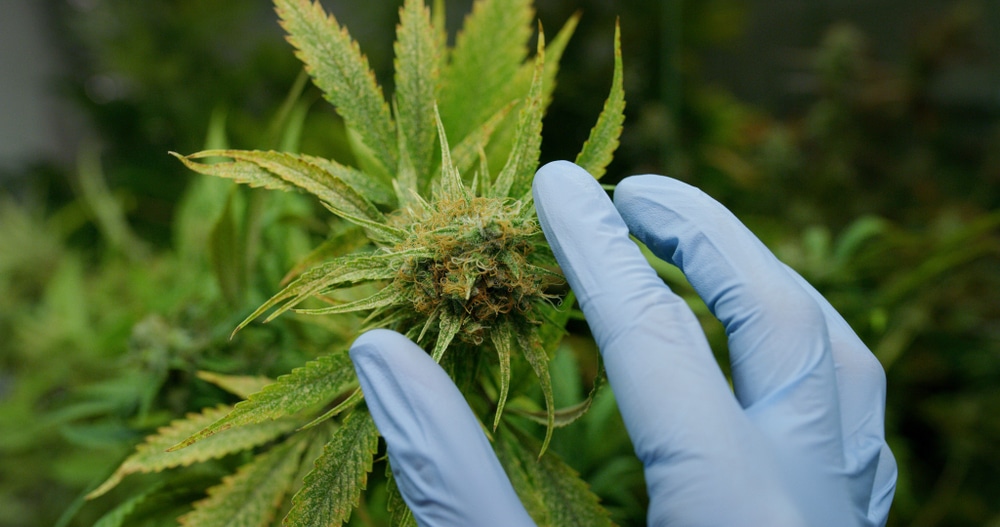
Light bleaching is among the easiest signs to pick up when identifying leaf burn. It occurs when grow lamps too close to the canopy affect the topmost nugs, resulting in frosty “albino” or bright white coloring.
High-intensity lighting with excess heat can damage the cannabinoids and terpenes, causing buds to smell and taste like grass or hay.
Brown buds
You may notice browning buds if plants are subjected to high-intensity LED grow lights. Your crops appear paler, sugar leaves start yellowing, and nugs may lose potency.
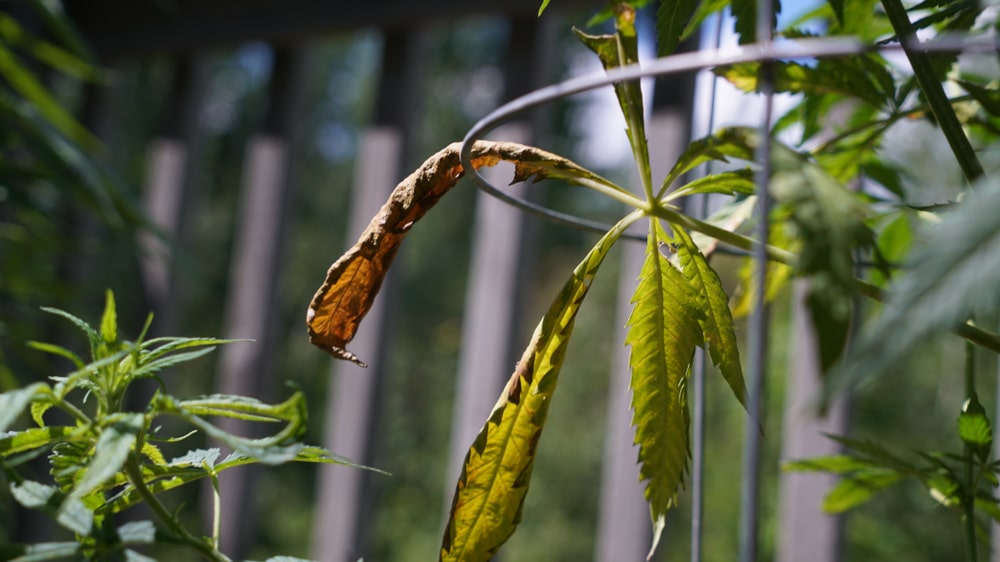
Yellow leaves
Yellowing fan leaves is one of the most common light burn symptoms to watch out for. However, the problem may be less obvious, as discoloration can indicate various health concerns like nutrient burn or deficiencies.
Here are some signs to help you distinguish between the two:
- Yellowing starts at the top of the plant in the event of a light burn. The leaves look discolored but not sick, as their veins remain green.
- The symptoms begin at the bottom of the plant’s structure if it’s suffering from a nutrient deficiency.
- When dealing with light burn, leaves remain sturdy and more challenging to remove. With a nutrient issue like nitrogen deficiency, they grow fragile, wither, and come off easily.
Curling leaves
Light-burned leaves may curl upward before the true extent of the problem, including yellowing, takes effect. The tips point away to hide from intense light.
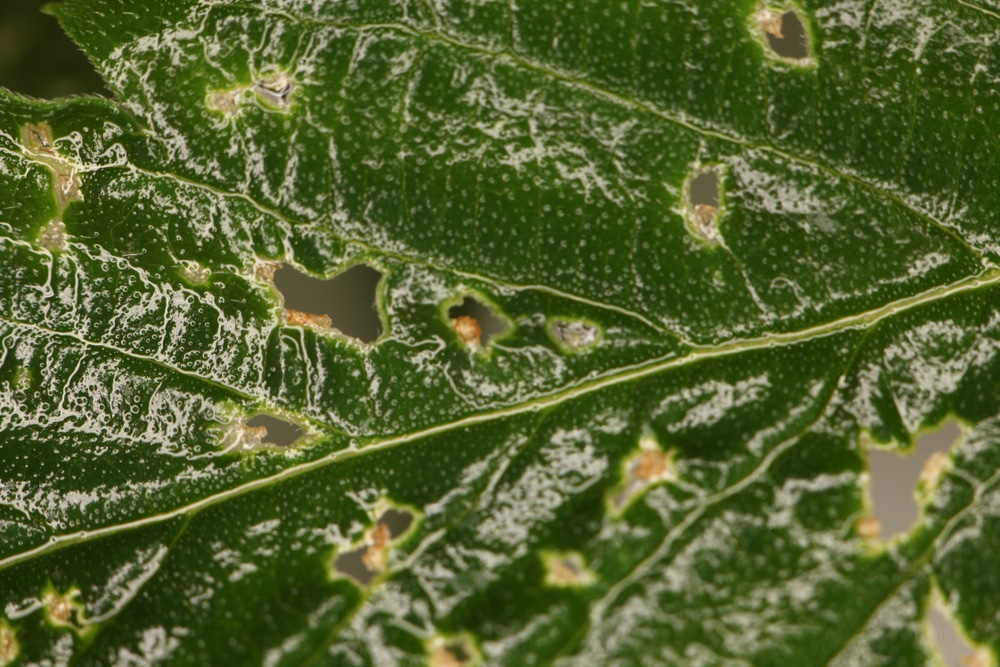
Your plant’s leaves could then become crispy and progressively lose their sheen. You may also notice brown or burnt marks on them.
What influences cannabis light burn?
There are various aspects to consider when dealing with light burn.
Your growing area should contain the ideal humidity and temperature:
- Temperature: The range for cannabis cultivation should ideally be 68–77°F in the seedling phase, 71–82°F during vegetation, 68–79°F for the flowering stage, and 64–75°F during late blooming.
- Humidity: The optimal humidity also changes depending on the cannabis growth stage. It should begin at 60–70% during vegging and 40–50% by the late-flowering pre-harvest phase.
Aim to reduce relative humidity by around 1–5% each week, but keep it above 40% and don’t adjust it too rapidly. Extra stress could cause further problems in your weed plants, making them more vulnerable to light burn.
How to prevent light burn
It’s best to focus on prevention rather than trying to treat or fix light burn.
There are several factors to consider in your grow room, like lighting type, distance, and wattage. Maintaining your plant’s environment and using specific training methods can help avoid issues.
Below are several preventive measures that could help you steer clear of light burn.
Light positioning
The most crucial step in preventing light burn is choosing an ideal grow lamp and placing it appropriately. Some LEDs and HIDs can damage plants when they’re barely ten inches away.
T5, CFL, and fluorescent lighting could also be more powerful, so you may need to place them further away.
Marijuana grow lights are available in various styles and features, so always follow the manufacturer’s instructions.
Common types of marijuana grow lights include:
- LED
- Fluorescent
- Ceramic Metal Halide (CMH)/Light Emitting Ceramic (LEC)
- High-Pressure Sodium (HPS) and Metal Halide (MH)
The light distance from your cannabis plants may differ between each product, and the wattage also influences the possibility of light stress.
It’s vital to avoid dangling them too far as you work, as incorrect positioning could deprive the crops of the food they need for proper development.
- Overlaying lights: Placing your lights higher can be more efficient if you have several lamps in a space with reflective walls. It helps your cannabis plants to receive illumination from multiple angles, increase energy intake, and boost yields.
- Reflective Walls: The position of your crops influences yields, and reflective walls could help make the most of available light. If using them, set your lamps higher to promote deeper penetration and prevent too much light from causing problems.
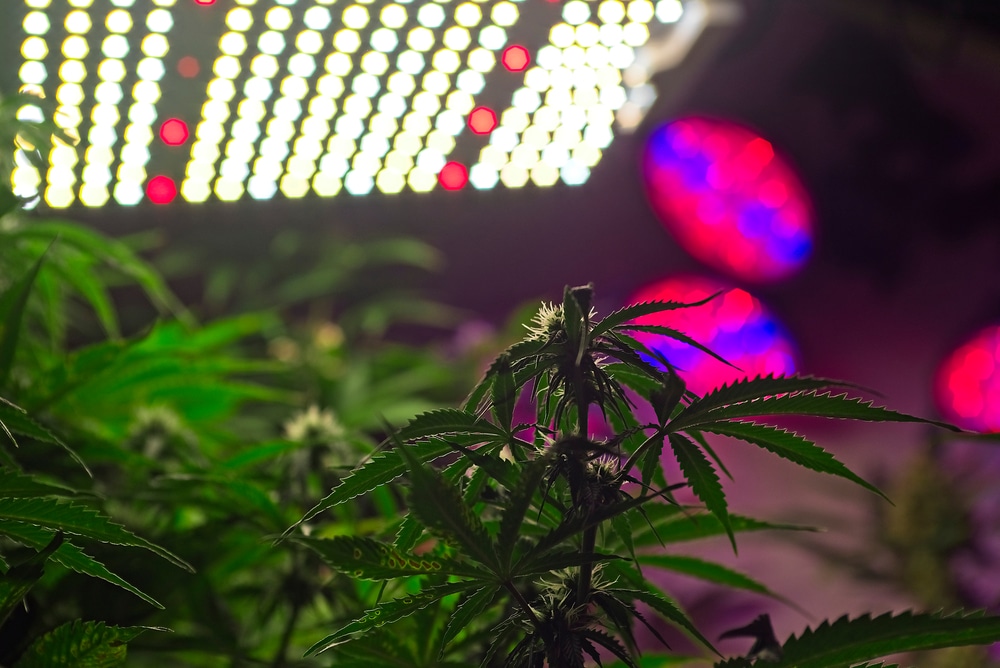
Light intensity levels
A strong light serves cannabis plants well, providing them with sufficient energy to work their magic, but it can cause problems if it emits too much heat.
The light intensity depends on your chosen equipment, so verifying the product’s photosynthetic photon flux density (PPFD) is essential.
PPFD measures the number of photosynthetically useful photons that strike a distant surface. It’s the most helpful term to look for when analyzing and contrasting various plant light options.
Understanding lumens or watts in a grow light is good, but knowing the PPFD is preferable as it indicates the ideal illumination for optimum growth.
Some growers prefer using a photosynthetically active radiation (PAR) or lux meter to confirm whether the correct lighting reaches your plants.
The recommended PAR levels for each growth stage represent µmols/m²/sec. They are:
- Seedling: 200–400 PPFD
- Vegetation: 400–600 PPFD
- Flowering: 600–900 PPFD
LED lighting is becoming more popular, and in general, cannabis plants fare better with them as they’re efficient and powerful. Below is a guideline you can follow when determining the distance of these lamps from the plants:
- 240–400W: 16–30 inches
- 450–550W: 20–30 inches
- 600–850W: 24–36 inches
- 900W+: 26–42 inches
If you choose to use high-pressure sodium (HPS) or metal halide (MH) lamps, use this guideline to determine the distance from your crop:
- 400W: 11–20 inches
- 600W: 13–26 inches
Ideal light distribution for optimal results is typically around 100W per m².
Moving your plants a few inches apart during the vegetative stage is advisable to monitor their progress. A well-spread canopy promotes equal energy distribution and helps to avoid problems.
If you notice your plants struggling, move the lights away, but move them closer if your crop is stretching excessively and growing limp. Turn off or remove a few lights if adjusting the distance fails, and the cannabis isn’t recovering.
If there’s limited vertical space and you can’t adjust the lighting, it’s time to employ training techniques.
Low-stress training
Low-stress training (LST) is particularly beneficial when growing cannabis indoors. It entails bending your weed plant’s stem horizontally for light to penetrate the canopy. The twisted stalks shorten the distance between the rays and plants.
LST is useful for managing stretching, increasing output yield, and maximizing light utilization. It reduces the amount of vertical space required using the least stress possible.
ScrOG
The Screen of Green (ScrOG) is an LST method beneficial for increasing your light’s footprint.
The technique involves horizontal bending through a mesh screen, helping to maximize small spaces and promote even distances from the grow lights. It can ultimately boost weed yield per square meter.
The tie-down method
This technique involves tying the cannabis branches down, resulting in a leveled canopy to improve light penetration. It aids in designing your plant’s structure to fit well in smaller grow rooms.
Use a lux meter
A lux meter is a simple device that helps you place your lighting at the ideal height over your canopy. It removes the guesswork in estimating the amount of illumination your crops should receive.
The gadget shows you how much light is necessary to keep the correct limits in your grow room. Adjust the positions of your lamps if you notice irregular levels.
Aim for these measurements during the main stages:
- Vegetative phase: 35.000–70.000
- Flowering phase: 55.000–85.000
Prevention is better than cure
There’s no guaranteed cure for marijuana light burn. In some cases, the damages are so severe that it’s impossible to recover the foliage, but it doesn’t mean you have to throw your light-burned buds in the trash.
You can still smoke them if they’re bleached or cut off the light-burned weed and consume the remaining nugs.
Cannabis light burn doesn’t necessarily imply that the buds are unfit for use, but it could mean lower quality and potency.
Bleached plants may not have a pleasant aroma or taste and won’t get you too high.
If you spot the first signs of light burn on cannabis plants, remove the lamps and hydrate your crop. Doing so may help them replenish lost moisture and recover. Cutting off yellowing or white leaves is also essential to prevent further damage to the rest of your crop.
Another option is to set up cooling fans to lessen the heat emitted by the lights, especially HID lights. They can be effective, but the heat they produce may be too much for your crop, necessitating the installation of strong fans.
Most modern LEDs have cooling fans built into the device and produce less heat than HIDs, so you may face fewer problems.
LED light burn is still possible, so ensure you keep them at a safe distance.
Remember that the best way to prevent issues is to provide your plants with the most optimal environment. Whether growing outdoors or inside, check on your crop often and adjust the conditions if you notice any warning signs.
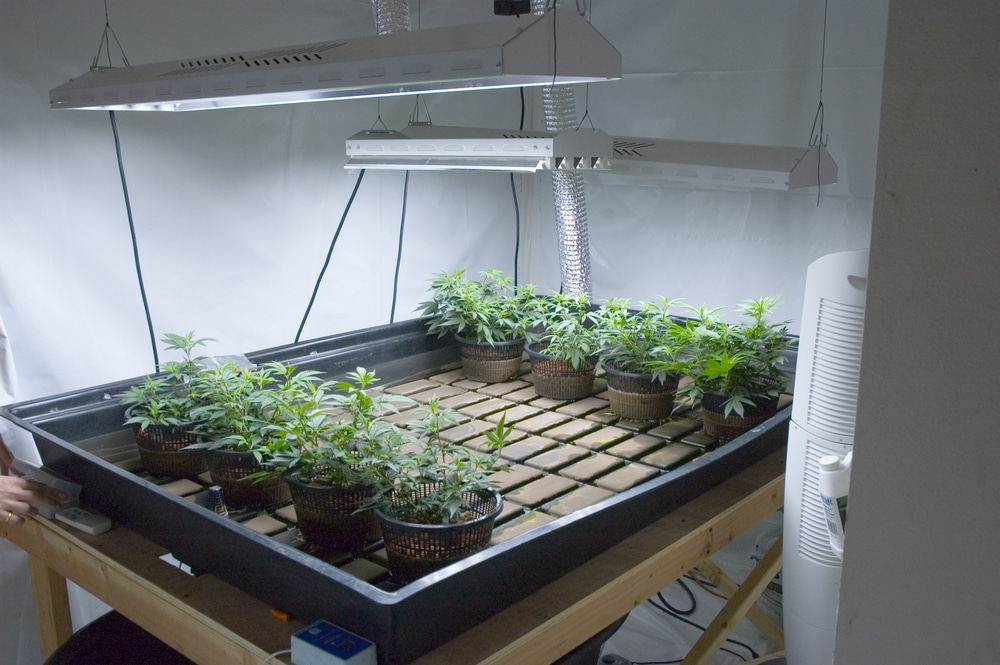
Ensure a healthy plant without light burn
Light burn has clear signs but is commonly misinterpreted for nutrient deficiencies, so knowing the symptoms is essential for eliminating uncertainty.
Ensure the appropriate distance between the bulbs and your crop to avoid light burn issues. If you observe any signs like yellowing leaves or bleached buds, start the healing process by adjusting your lighting fixtures or using LST techniques.
Visit The Seed Fair to learn more about the proper use of light in optimizing your yield.
We offer high-quality seeds with a germination guarantee, and some strains can withstand higher light levels.
After placing your order, head to our blog for more resources to help you make the most of your cultivation experience.
FAQs about marijuana light burn
Are you ready to grow cannabis but still have concerns or questions about light burns? Find the most common queries and answers below.
How can I resolve cannabis light burn issues?
Try turning off some lights or placing them further away from your plants. If you can’t move the lamps, bend your crops away from the light source. If they’re still vegging, consider clipping off the top to reduce the height.
Can an LED grow light burn my crops?
LED lights don’t get too hot, but they can still damage a cannabis plant when too close or excessive. Ensure they emit very little heat and move them further away if you notice leaves start to turn yellow or curl up.
Is light burn possible during the seedling stage?
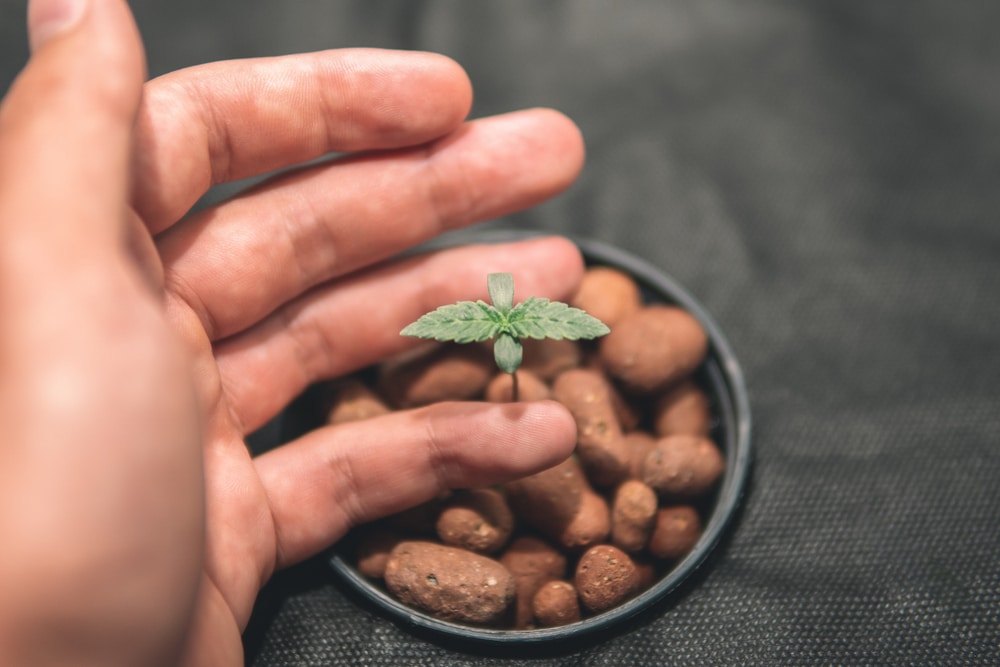
Cannabis plants are extremely delicate at the seedling stage, making them vulnerable to burns from excess light. Don’t place them in direct sunlight or expose them to high temperatures during this phase, and ensure they get enough water and nutrients.


