No products in the cart.
Marijuana Education
How to Transplant Cannabis Seedlings: A Comprehensive Step-by-Step Guide
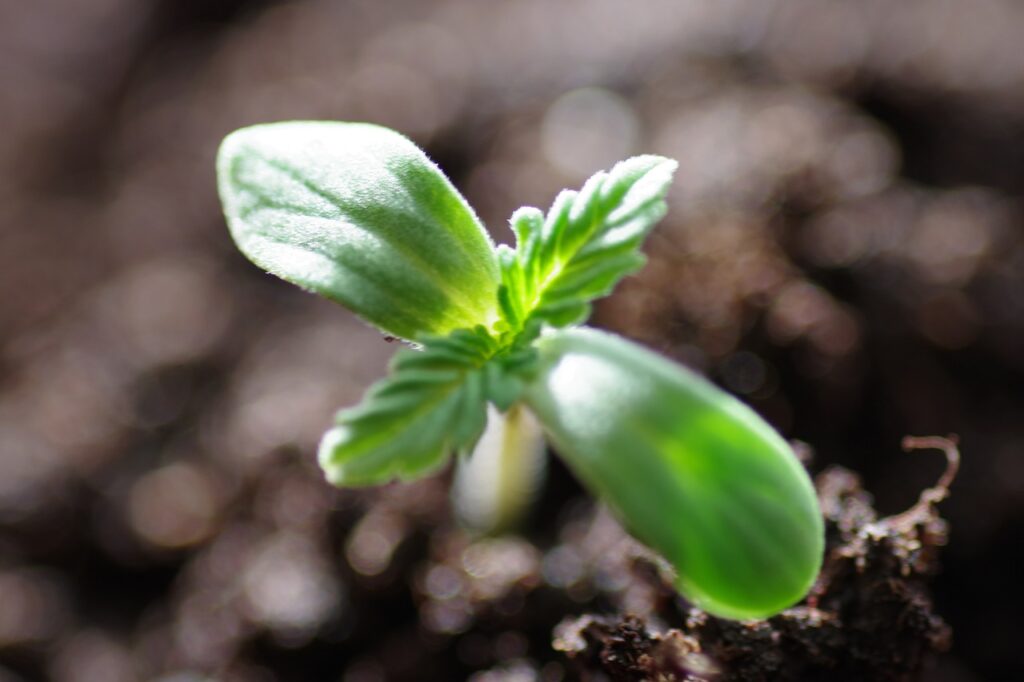
Learning how to transplant cannabis seedlings is like playing a game of Jenga. It requires care, observation, and patience; but get it right, and you’ll win in the end. Unlike the game, though, there aren’t any do-overs. Young marijuana plants are delicate, and one wrong move could spell disaster.
If you want to reap the sweet, sticky rewards of a bountiful harvest, you need to know why, when, and how to transplant your seedlings correctly.
In this guide, you’ll learn all of the above, including preparation, troubleshooting, recovery care, and the steps required for a smooth transition.
Ready? Let’s dive in.
Why transplant your cannabis seedlings?
Transplanting is the act of moving a plant from one place to another, usually to give it more space to grow bigger.
Most cultivators place their newly sprouted seedlings in solo cups or 1-gallon pots until they’re big enough to survive outdoors or be moved.
But why not save the hassle and plant your weed seeds directly into their final containers from the get-go? The size of a plant’s container affects its yield. Naturally, you want your crops to finish in lovely big pots, but it’s not always ideal to start them this way.
Baby marijuana plants are extremely fragile and sensitive to environmental factors. It’s much easier to nurture, nourish, and protect them in smaller containers. It’s also better for the young roots to develop in a more confined space.
In larger pots, the roots can’t spread out as much or absorb as much moisture, which can lead to waterlogged soil and even root rot. You’ll also waste a lot of water and nutrients from unused soil when using a larger pot.
Ultimately, starting in smaller pots means better overall growth, but for your plants to reach their full potential, transplanting is necessary. While it comes with risks, this process leads to robust root development and optimal bud production when executed correctly.
That said, autoflowering cannabis seeds are the exception here. Their short life cycle leaves little time for recovery after transplanting, so it’s best to avoid this entirely.
The role of transplanting in cannabis cultivation
Knowing how to transplant your cannabis seedlings properly is a vital skill you can’t do without. It takes practice, the right timing, and careful observation to do it successfully, but it’ll be well worth your efforts.
When a marijuana plant outgrows its current container, the roots can quickly become cramped, overlapped, and tangled. If it isn’t transplanted in time, it becomes “rootbound.”
This condition leaves little space for the roots to absorb ample nutrients, oxygen, and water. They start dying, and the plant effectively starves, leading to stunted growth, sickness, and even death.
Pot size determines how much the roots can spread out, which, in turn, dictates how big your plant will get and how much weed you’ll yield.
Most cannabis crops require one or two transplants during their lifecycle. More are possible, depending on factors like genetics, size, and available space.
Here’s a general idea of when and how often a marijuana plant may require repotting:
- From germination to the first container: Directly after your weed seeds have sprouted.
- From the first container to the second, intermediate container: Around 4–8 weeks after germination.
- From the second container to the third, finishing container: 8–12 weeks later, or around two weeks before the flowering stage.
Some growers opt to transplant their seedlings just once, going from the first pot straight to the final container. Similarly, you can transplant your crop from its starting pot directly into the ground, but keep factors like local climate and weather in mind.
The benefits of transplanting cannabis seedlings
Moving a cannabis seedling to a bigger pot gives its root system more space to spread out and develop, allowing for strong and healthy growth. Transplanting also:
- Improves drainage and absorption, mitigating the risks of problems like root rot.
- Lessens the stress caused by the move. Young marijuana plants recover quicker and more easily than mature crops.
- Increases yields by giving the cannabis seedling better access to water, oxygen, and nutrients with ample space to reach its full potential.
The seedling stage is about giving your plants everything they need to thrive.
One of the best ways you can do this is by learning how to transplant your cannabis seedlings after germination. Start strong, and your crops will grow into big, bud-laden beauties.
The ideal time to transplant cannabis seedlings
When your cannabis seedling is about to outgrow its current container, it’s time to transplant.
With rockwool, you’ll notice white roots poking out from the bottom of the cube. For soil grows, look at the following factors to determine transplant readiness:
Root development
White roots growing out of the container’s drainage holes mean it’s time to transplant. If they’re dark or discolored, the plant may be rootbound, and an urgent repotting is crucial.
Number of leaves
Young marijuana plants with 4–5 sets of leaves are typically big enough to transplant, although this varies among strains. Keep duration in mind too. A seedling usually needs a bigger pot around 7–10 days after its first set of “true leaves” develop.
Height
When the plant’s leaves grow taller than the height of the container, it’s likely time to transplant.
Now you know when a marijuana seedling is ready to be moved.
So, what’s next? Prep time!
Preparing for the transplanting process
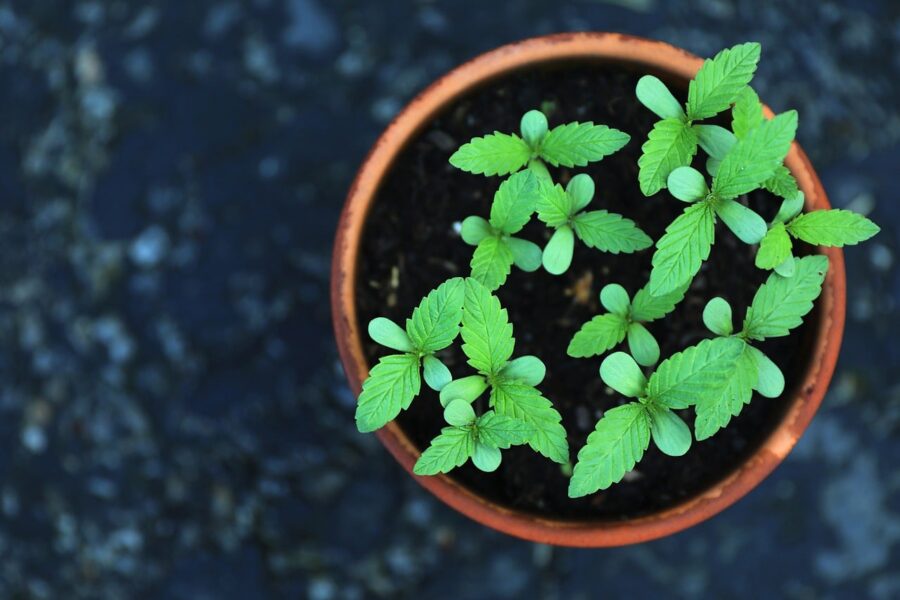
Proper preparation takes time and effort, but it’s not rocket science. Follow these expert tips to get ready for a successful transplant:
Select the right container for transplanting
When transplanting cannabis, the general rule of thumb is to use a container twice the size of the previous one.
This minimizes the risk of transplant shock, which occurs when a plant undergoes extreme stress from the move.
Genetics play a major role in selecting the right-sized container. Some strains grow much taller than others, so space requirements can vary wildly.
Many medium-sized marijuana plants flourish in 5-gallon pots, while some tall varieties need 10- or 20-gallon containers to reach their maximum potential.
Here’s a general guideline based on plant height and pot size:
| Cannabis plant height in inches | Container size in ounces and gallons |
| 0–6 inches | 16 ounces |
| 6–12 inches | 1-gallon |
| 12–24 inches | 3-gallon |
| 24–42 inches | 5-gallon |
| 42–60 inches | 10-gallon |
| 60–84 inches | 20-gallon |
Always allow for a little more space than needed. A cannabis plant requires around two gallons of soil for every 12 inches of vegetative growth.
Choose the optimal growing medium
Cannabis seedlings need an oxygen-rich substrate for optimal root development. The medium should be moist but not soaking to achieve an effective wet-dry cycle.
For hydroponic grows, rockwool or coco provide well-aerated conditions with enough moisture for robust root growth. The former also simplifies transplanting in the later growth stages.
For soil grows, use a lightly fertilized and seed-specific soil mix with 30–50% perlite or coco coir. This allows for ample drainage, moisture retention, and oxygen availability, all paramount to healthy root development.
Don’t jump from one growing medium to another, though. Keep it consistent, or you could face various root and growth problems.
Prepare the new growing environment
Treat your marijuana seedlings like the fragile babies they are. Make sure the new growing environment nurtures and nourishes them with these tips:
- Lighting: Full-spectrum or white compact fluorescent bulbs (CFLs) or light-emitting diode (LED) lights are ideal for weed seedlings. Metal halides (MH) are also suitable. A sunny windowsill works too.
- Light schedule: An 18–6 or 20–4 light cycle is ideal to maximize both root and foliage growth.
- Temperature and relative humidity (RH): Cannabis seedlings adore high humidity, so around 70% RH is ideal with temps of 72–78°F. Monitor these aspects multiple times a day to keep them consistent.
Use a spray bottle to avoid overwatering your cannabis seedlings. Other growing supplies, like a digital hygrometer and a propagator, also come in handy to keep the environment in check.
How to transplant cannabis seedlings in 5 steps
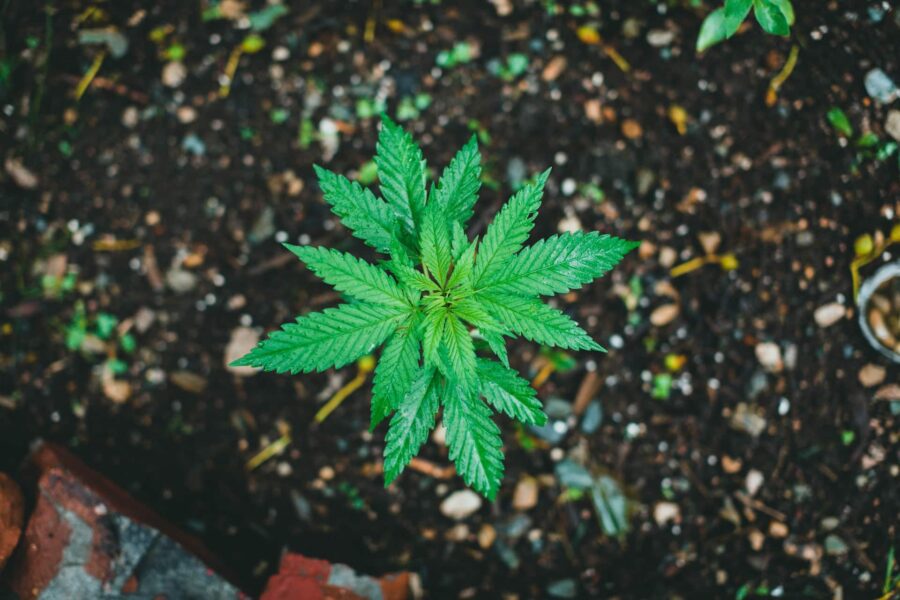
The actual transplanting process is relatively easy, though it requires careful execution. Wash your hands thoroughly and sterilize any tools to prevent contamination. Make sure your working area is sanitary too.
When you’re ready to move your young plants to bigger pots, follow these steps:
Step 1: Water your seedlings before transplanting
Lightly water the cannabis seedling shortly before transplanting to keep the roots and growing medium moist. This allows your plant to slide out easily while minimizing shock.
Step 2: Prepare the new container and growing medium
Fill the new pot with loose potting mix, leaving about two inches of space. Don’t overpack the soil, or you’ll compromise drainage. Water the new medium lightly without soaking it to facilitate absorption after the transplant.
Next, make a hole in the middle of the pot that’s roughly the size of the old container. It must be deep enough to house the seedling and its root ball.
Step 3: Carefully remove the seedling from its current container
Gently squeeze around the edges of the pot to help loosen the root ball before carefully removing your cannabis seedling. Don’t take the plant directly by the stem, though.
Instead, grab the entire top and turn the pot upside down. That way, you can gently pat the root ball out so the seedling falls safely into your hand.
You might have to help it along by pulling the seedling out, but go slowly and be extremely gentle.
Step 4: Gently transplant the seedling
Once your marijuana seedling is out, place the root ball directly into the new container by gently positioning it into the hole you made earlier. Be sure not to bury the stem too deeply.
Carefully add some extra soil, smooth it out, and pat it down softly to press everything together and secure the seedling.
Step 5: Water and monitor your seedlings post-transplant
Use a spritzer to water your cannabis plant immediately once it’s nice and snug in its new home. The transplant is now complete!
Minimizing transplant shock in cannabis seedlings
Transplanting is a stressful process for marijuana seedlings. Minimize the shock, speed up recovery, and promote healthy growth by following these tips:
Ensure a smooth transition
Handle your seedlings with care to mitigate root disturbance as much as possible. The first repotting poses the greatest risk for shock, which can occur from accidental damage.
Maintain consistent environmental conditions and avoid intense light exposure during the transition. You’ll reduce stress, allowing your crops to recover quicker.
Outdoors, try to transplant on an overcast day, late in the afternoon, to give your plants a rest before being exposed to sunlight.
Gradually adjust seedlings to new environmental conditions
After transplanting, keep your marijuana plants away from direct sunlight for at least three days to facilitate recovery. You can then place them in a location with temperature and humidity conditions similar to the pre-transplant habitat.
After a few days, gradually increase or decrease the light intensity and other environmental controls as needed.
Monitor seedling health and recovery
Keep a close eye on your seedlings to spot any symptoms of stress or shock early. Wilting, yellowing leaves, or stunted growth are telltale signs that a plant is struggling to recover.
Common transplanting mistakes to avoid
With transplanting, one small error can ruin your entire grow. Here are some biggies to avoid:
Overhandling seedlings during transplanting
Excessive handling can damage the delicate roots and stems of your plants. Avoid touching or pulling your seedlings by their stems. Instead, handle them carefully by the leaves or use a tool to gently lift them from their containers.
Transplanting seedlings too early or too late
Timing is everything when it comes to transplanting cannabis seedlings. Do it too early, and they may not recover properly, leading to stunted growth and poor yields.
Transplanting your cannabis seedlings too late can cause them to become rootbound, resulting in suboptimal growth or even death. Common signs of this condition include discolored leaves, poor plant vigor, and nutrient deficiencies.
Learn to recognize when your weed plants are about to outgrow their containers and move them at precisely the right time.
Inadequate preparation of the new growing environment
Without proper preparation, nutrient deficiencies, waterlogging, and poor root development can ruin your cannabis plants. Take the time to prepare the new growing environment carefully, providing a healthy and nurturing space for your seedlings to thrive.
Troubleshoot transplant issues and support seedling recovery
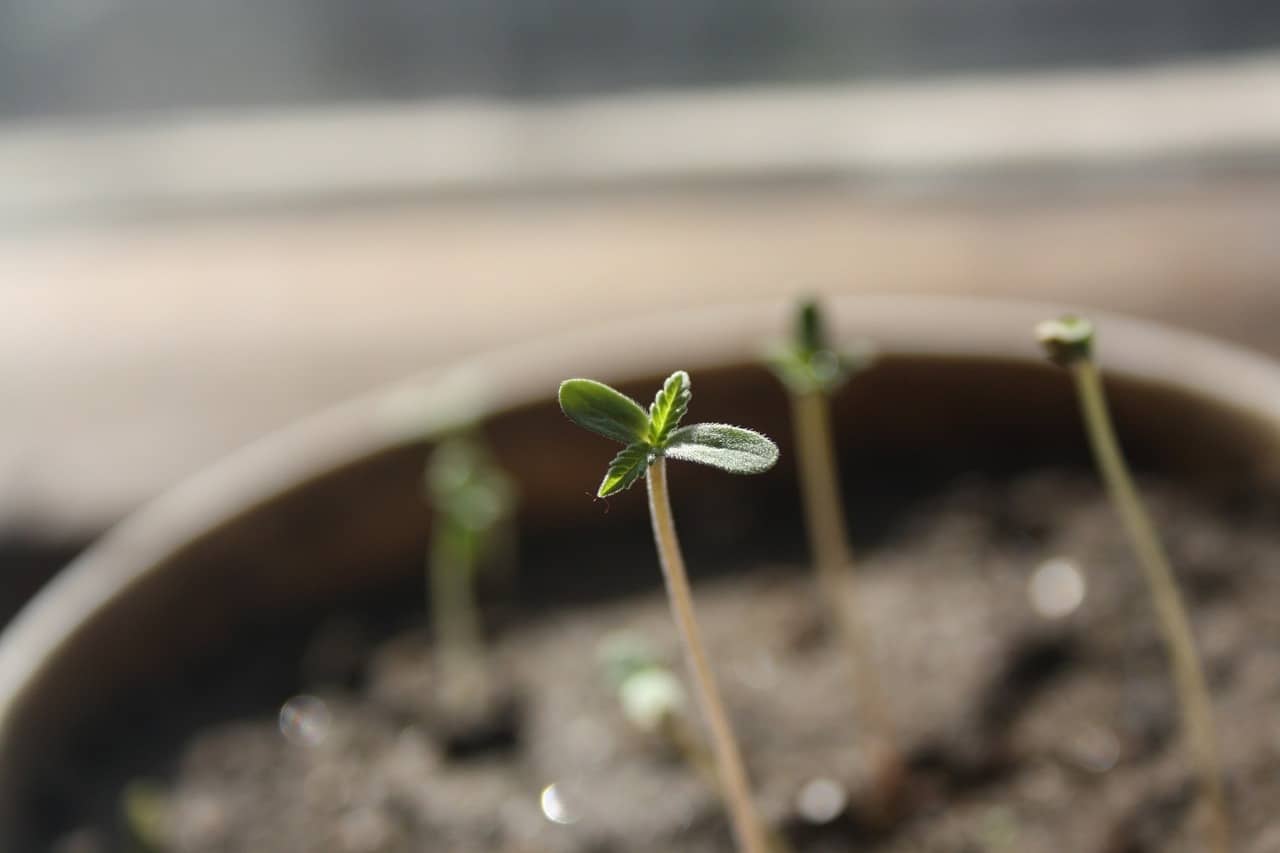
You can do everything right, and a transplanting issue may still arise. Troubleshoot the situation and provide the necessary support for your plants’ recovery with these tips:
Identify the signs of transplant shock
Transplant shock is a common yet severe problem, so catching the signs early is crucial. The primary symptoms include:
- Wilting and drooping leaves;
- Stunted growth;
- Leaf discoloration;
- Dropping leaves;
- Brown tips on leaves;
- Extremely slow growth.
If you notice any of these symptoms after transplanting your weed plants, take swift corrective action.
Remedial measures for stressed seedlings
There are a few things you can do to help your cannabis seedlings recover from transplant shock. Here are some of the best remedial measures:
- Water your plants thoroughly to rehydrate the roots and reduce stress.
- Trim away non-essential leaves to direct more energy to developing the roots.
- Use a low-nitrogen cannabis fertilizer to support and promote recovery.
- Add extra perlite to loosen the soil and help your weed plant adjust to its new environment.
- Use a root booster to help your crop recover quicker. Some growers swear by seaweed kelp extract.
With proper care, most cannabis seedlings will bounce back without a hitch.
Ensure continued care and monitoring post-transplant
Once you’ve transplanted your cannabis seedlings, keep a close eye on them. They’re still in a delicate phase after all, so some extra TLC is required. Be sure to:
- Keep the growing medium moist but not soaking wet.
- Stick to a consistent feeding schedule.
- Keep pests and diseases at bay. Natural insecticides like neem oil are effective and gentler than some commercial options.
By following these simple steps, you can help your cannabis seedlings flourish into healthy and productive plants.
How to transplant cannabis seedlings to the final growing space
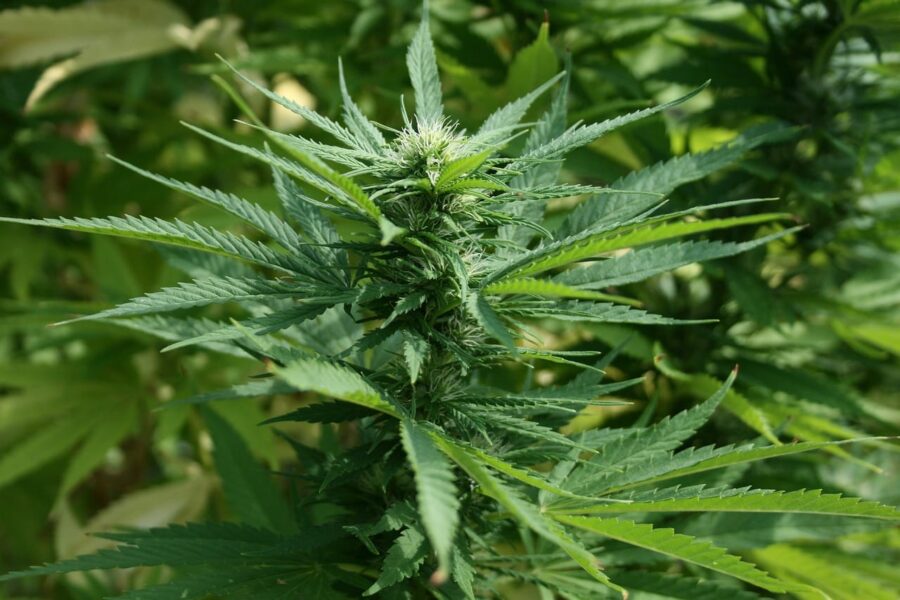
The finishing container is the final growing space for a weed plant until it’s ready to harvest, so it’ll be the biggest pot too.
Whether you want to move a cannabis seedling or a more mature plant to its finishing container, the process is equally delicate.
When to make the final transplant
A weed plant should be in its finishing pot or growing space with plenty of room for root development before it enters the flowering stage.
This final transplant should happen one to two weeks before blooming begins. The last thing you want to do is disturb a crop in the bud production phase.
Prepare the final growing environment
During flowering, a cannabis plant increases in both size and volume. It gets bigger and starts developing buds, so its root system requires sufficient space to flourish. Keep this in mind when choosing the right-sized pot.
Remember, a plant reaching 42–60 inches tall typically needs a 10-gallon container. A 20-gallon vessel is ideal for a crop that’s 60–84 inches high.
The final growing environment should also be warm, humid, and well-lit. Keep the temperature around 70–80°F with a relative humidity of 50–60%.
Once everything is set, carefully transplant your cannabis crops using the same steps outlined above.
Tips for a successful final transplant
While a first and final transplant isn’t advisable for cannabis seedlings, it’s usually the best option for autoflowering strains with a shorter lifespan.
Still, you can technically move a seedling directly into its final pot to avoid multiple transplants. Doing so limits the potential of your finished plant, though.
Unless you have limited growing space, bigger is always better.
Seedlings in large containers grow much slower than those in smaller pots. Nonetheless, this difference becomes negligible after a few weeks in the vegetative stage.
Here are a few extra tips for a successful final transplant:
- Monitor your plants for signs of distress or overcrowded roots. You don’t want to transplant too late.
- Water seedlings and the growing medium thoroughly before transplanting.
- Once a seedling is in its final pot, only water it around the stalk at the roots.
- If transplanting directly into the ground, mulch around the cannabis plants to help retain moisture and suppress weeds.
- For larger crops, set up additional support like stakes to avoid structural damage after transplanting.
By following these tips and the steps mentioned above, you can ensure a successful final transplant and happy, healthy crops.
Transplant your cannabis seedlings with care
Knowing how to transplant cannabis seedlings is an invaluable cultivation skill. It’s the only way to grow monster plants that produce mega yields.
Strike a balance between the right timing, adequate preparation, and careful execution, and you’ll master the art in no time. After the transition, give your plants ample TLC, keep a watchful eye on them, and take immediate action if you notice slow recovery.
Tick all these boxes, and you’ll reap the sweetest rewards for your labor.
Do you want to sharpen your cultivation skills even further? Check out our blog for more in-depth guides and interesting information on everything cannabis.


