No products in the cart.
Marijuana Education
Marijuana Growing Tips
Do you want a generous yield of plump, juicy buds? We’ve got all the marijuana growing tips to give you just that. This resilient plant is easy to grow, and with the right advice, you can make it thrive.
Read on as we detail everything from the cannabis life cycle to growing resources. We also give you in-depth tips on watering and feeding your plants.
Let’s get started.
The art and science of marijuana cultivation
If you’re new to cannabis cultivation, you’re probably wondering what’s involved. Understanding the science of growing cannabis is essential, but experience brings something special.
The ability to “read” cannabis flora and troubleshoot by feeling the leaves is an art. A true grower can determine the growth phase, plants’ health, and genetics with just a look.
The art that comes with being a seasoned grower gives you intuition in caring for your plants. Paired with the science of growing techniques, it keeps greenery happy and healthy.
Overview of the marijuana lifecycle
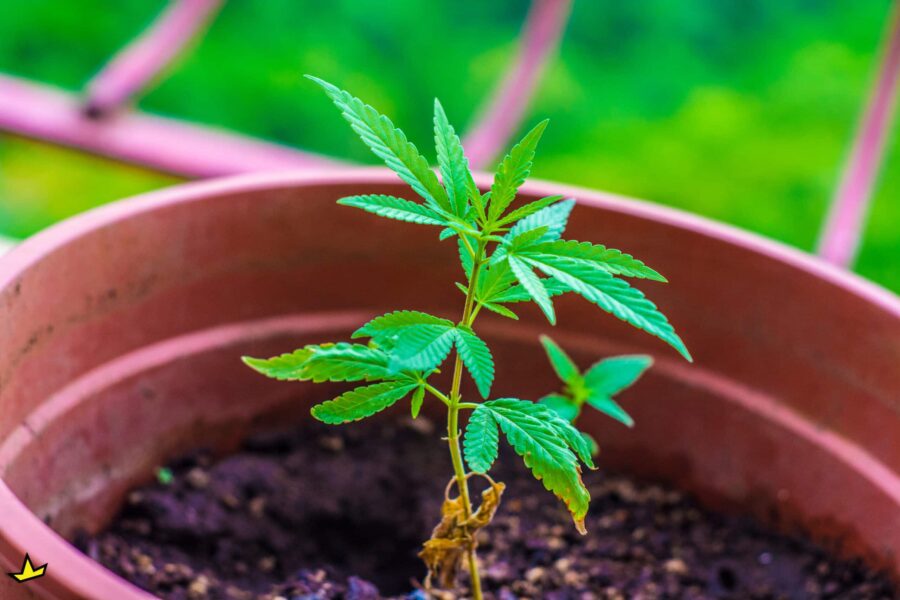
Marijuana is an annual dioecious (unisexual) plant. It starts with a mature seed that germinates into a seedling.
During vegging, it reaches sexual maturity. Females produce buds while males have pollen sacs. There are also cases of hermaphrodites, which result from high stress or genetic defects.
Once it reproduces, cannabis dies in the wild. Growers can re-veg their plant and continue the cycle to get a new batch of buds.
The importance of skilled cultivation
Cannabis is relatively easy to grow, but it’s nothing like growing a patch of grass. It requires knowledge of various cultivation skills.
Skilled cultivation is essential to understand the needs of marijuana plants. Indoor growers should be especially knowledgeable about providing the ideal climate.
Planning your marijuana grow
Preparation is key when growing cannabis. Below are a few factors to consider.
Selecting the right cannabis strain
There are over 700 strains of cannabis. How can you find the best one?
Choosing based on desired effects and grow difficulty
The first thing to consider is the effects you want. Different cannabis strains produce a variety of sensations.
Medicinal users and those looking for low psychoactive effects prefer high CBD strains. People who enjoy potent psychedelic sensations appreciate high THC cultivars.
Indica strains tend to be relaxing and sedating. They’re perfect for achieving a full-body stone. Sativa strains deliver a heady cerebral buzz that’s typically more energizing. They’re suitable for people looking for a daytime toke that doesn’t make them sleepy.
The next point to consider is growing difficulty. Beginners should stick to easier strains, like Afghani feminized. Veterans can experiment with more challenging cultivars.
Considering your climate and growing space
Are you growing outdoors? Ensure your climate is suitable for cannabis cultivation. Suboptimal conditions slow growth, lower yields, and could shock and kill your plants.
Grow cannabis indoors if you deal with cold or extreme conditions. Shorter strains, like autoflowers and indicas, fit into most grow areas perfectly.
Preparing your grow space
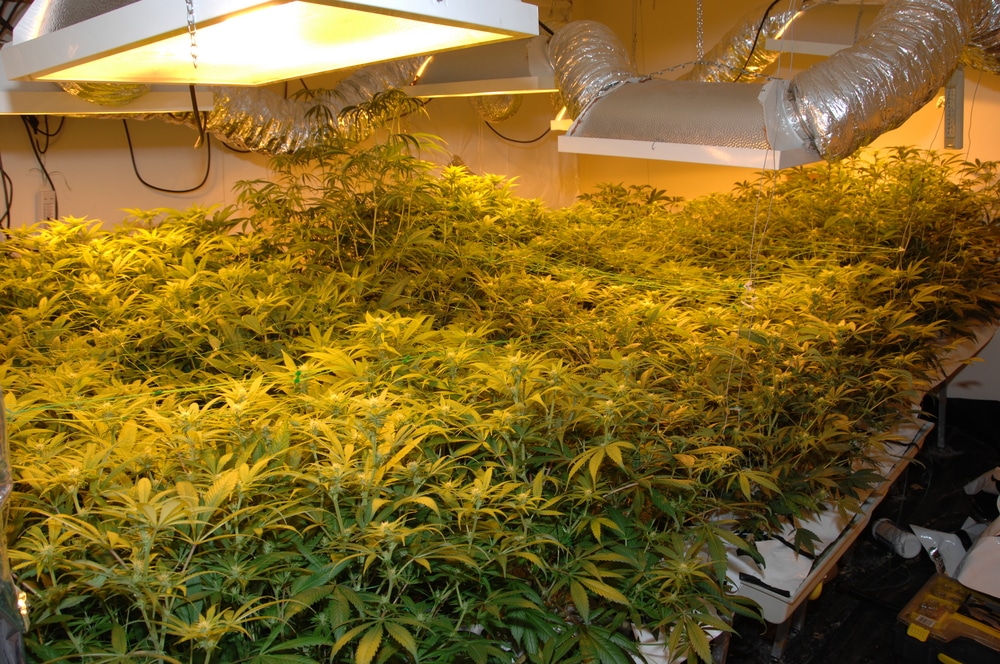
Now that you’ve got your cannabis seeds, it’s time to prepare the grow area. The supplies for growing cannabis and other things to consider largely depend on where you plan on planting them.
Indoor vs. outdoor growing
Many people prefer to grow outdoors because it’s more economical. You don’t need to invest in expensive lighting equipment or grow tents.
There’s more space outside plus high-quality photosynthesis thanks to the sunlight. Outdoor soil is more biodiverse, and the chance of high humidity build-up is lower.
Outdoor growing isn’t for everyone. Those who live in cold or extremely humid climates should grow indoors. Temperatures during the day should be around 70–85°F.
There shouldn’t be extreme conditions, like torrential rains, which can cause root rot. Outdoors, plants are more prone to pests, like caterpillars. It’s also not as private, which may cause trouble in certain neighborhoods.
Indoor growers have a greater environmental advantage as they can control the climate. There are no rainy days when growing inside.
One of the greatest advantages of indoor growing is you can have perpetual harvests. Cultivate cannabis year-round and never have empty stash jars.
Your plants are also safer from pests, storms, and nosy neighbors indoors. The downside is that it’s expensive. It also requires knowledge of setting up a successful grow area.
Essential equipment for successful growing
The equipment required depends on the location. If you choose to grow outdoors, you need:
- Organic soil with adequate drainage. Loam soil is best. Mix 40% sand, 40% silt, and 20% clay to make it.
- Nutrients
- Organic pesticides like neem oil
- Basic growing tools like garden gloves and scissors
Indoor growing requires more complex and pricey equipment. Here are some items you need:
- Good quality soil
- Pots with enough space for plants to stretch their roots and adequate aeration
- Humidifier or dehumidifier (or both)
- Fan for circulation
- Thermometer
- Hygrometer
- Nutrients
- Grow lights (LED or HID bulbs work best)
Essential marijuana growing tips
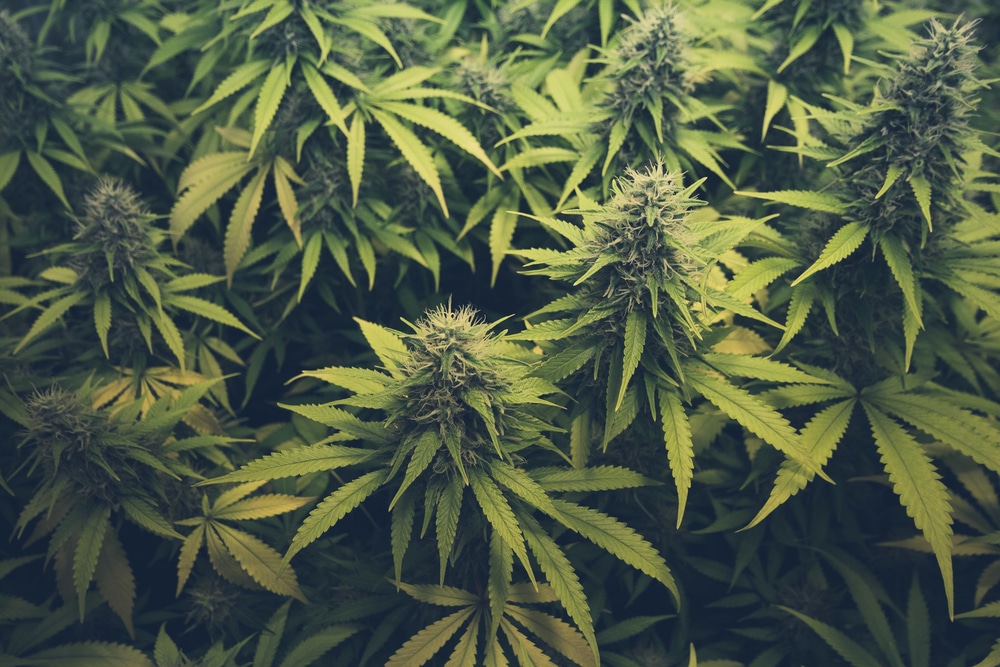
With a few basic marijuana growing tips, it’s easy to grow plump nugs. Even absolute beginners can produce glorious buds with the right TLC. Below are some golden nuggets of wisdom on cannabis cultivation.
Mastering the basics of cannabis care
The two most important factors in growing marijuana are:
- Providing the appropriate environment
- Regularly checking plants for signs of stress or markers of different growth stages
Understanding light, water, and nutrient needs
Cannabis plants have different needs, depending on the life cycle stage.
Seedlings thrive under an 18/6 schedule and have low nutrition needs. You shouldn’t feed them until you spot their first leaves (cotyledons). Apply low-dose nutrients and follow a cannabis feeding schedule. Introduce beneficial bacteria and fungi to provide a healthy foundation.
Vegging marijuana requires at least 13 hours of light, but an 18:6 schedule is best. In this stage, plants need higher levels of nitrogen for chlorophyll production. This compound boosts photosynthesis and helps produce proteins for strong, healthy flora.
Photoperiods require a switch to a 12/12 light schedule to start blooming. If you’re growing an autoflower plant, it’ll start flowering automatically around 2–4 weeks after veg.
In the flowering stage, cannabis requires more phosphorus and potassium. These nutrients help create potent, sticky buds and boost resin production.
When it comes to watering, less is more. Cannabis prefers to be dried and then rehydrated rather than constantly moist. If the top two inches of soil are dry, it’s time to hydrate. Water 25–33% of the pot capacity. This method prevents root rot and fungal infections.
The importance of monitoring plant health
Check on your plants regularly for signs of stress, infections, and cannabis diseases. Look out for wilted stems, discolored or yellowing leaves, and moldy spots. Check the foliage carefully for nibbles or insects.
Navigating the grow phases
Cannabis goes through four growing stages. It’s essential to understand what your plants require and the signs that reveal each phase.
Seed germination and planting
Germination is the first step in growing cannabis seeds. It usually takes up to five days for the seeds to pop and develop taproots. In this stage, keep the seeds in a dark place so they can germinate successfully. Transplant once the seedlings develop their first leaves.
Seedlings are extremely fragile. Use a tweezer or earbuds to move them to the grow medium. Always handle them gently.
Managing the vegetative and flowering stages
During the vegetative stage, cannabis plants develop more foliage and stronger structural support. They require lots of nitrogen to boost photosynthesis and help them develop sturdy branches and colas.
Photoperiod cannabis seeds give you more leeway at this stage. You can keep them vegging as long as you maintain an 18:6 schedule. It gives you time to fix possible problems, like overwatered cannabis. Once you’re ready, drop the schedule to 12/12 to trigger flowering.
Autoflower seeds enter flowering within a specified time. It’s crucial to avoid stressing them out during vegging.
Keep your plants’ environment as clean and comfortable as possible. If not, you won’t be able to fix errors and they’ll enter flowering in poor condition.
Once the buds are fully formed, you should know when it’s the right time to harvest. Stop feeding nutrients two weeks before you pick them. Your plants won’t need additional nutrition when the nugs are already developed.
Flush the soil two weeks prior to harvest to remove the minerals’ flavor. This step also releases any leftover pesticides. It leaves you with pure, tasty buds.
Perfecting your harvesting and curing techniques
Once your buds are ready, it’s time to harvest and cure them. Let’s unpack more on these two crucial steps.
Knowing when to harvest for maximum potency
Learning when to pick your buds is crucial. If you collect them too early, your nugs lack potency and flavor. If you harvest too late, they’ll be high in CBN, a compound that reduces THC and delivers a mild, relaxing effect.
Here are four key signs that your buds are harvest-ready:
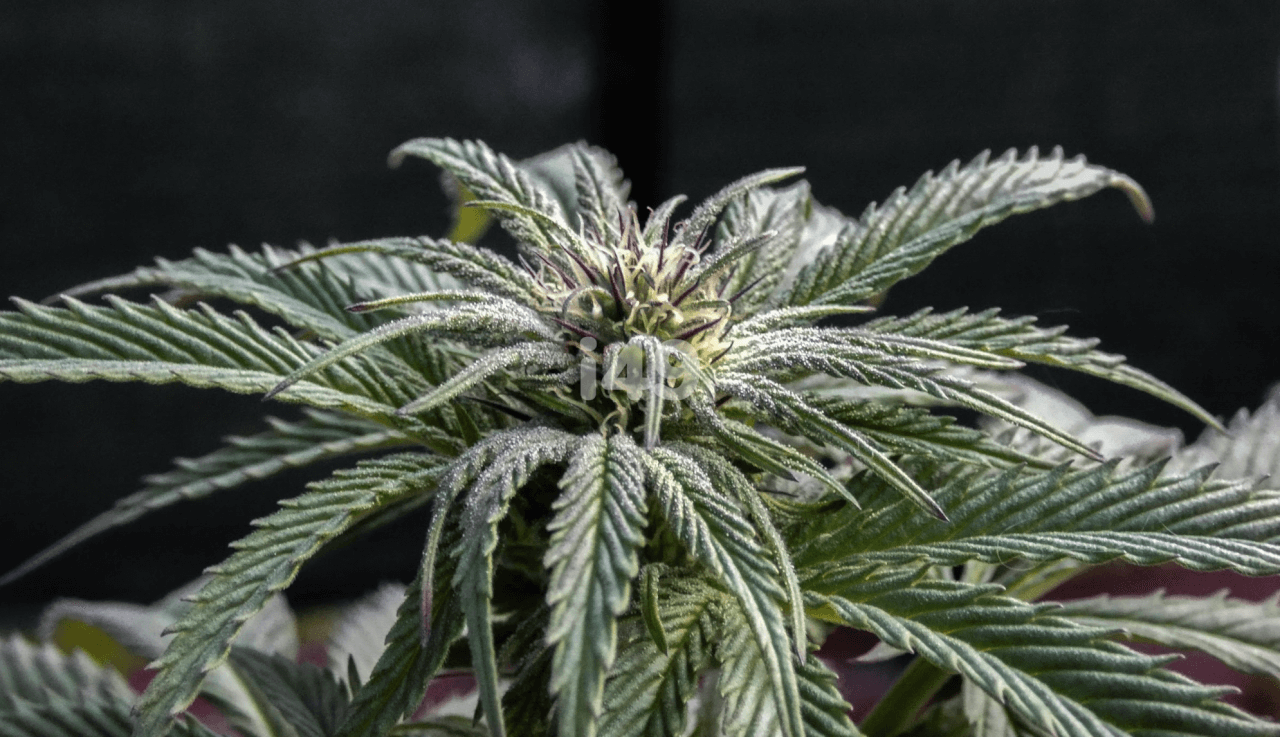
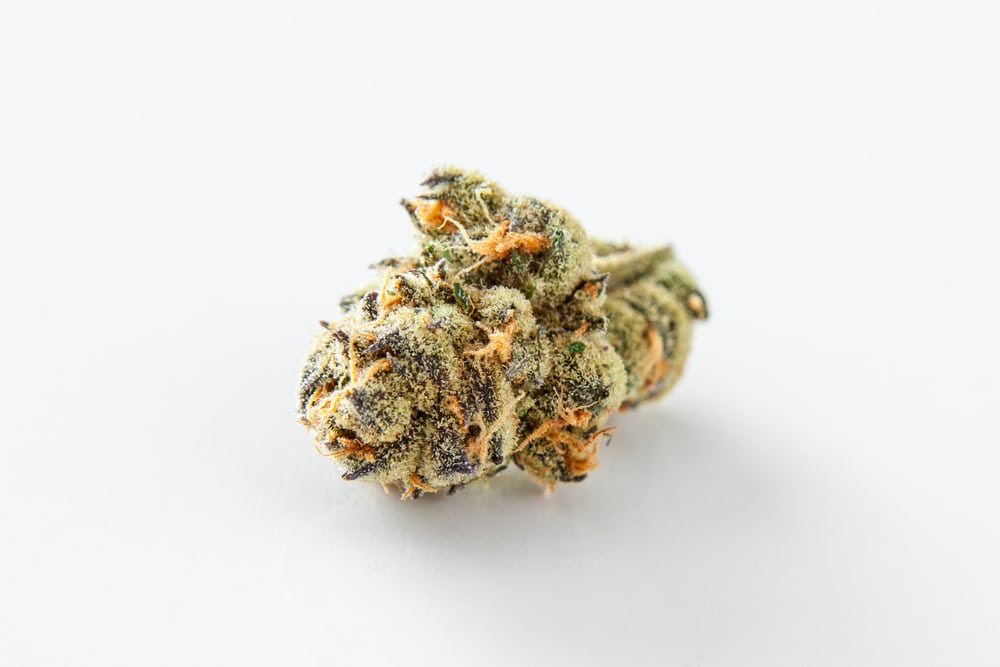
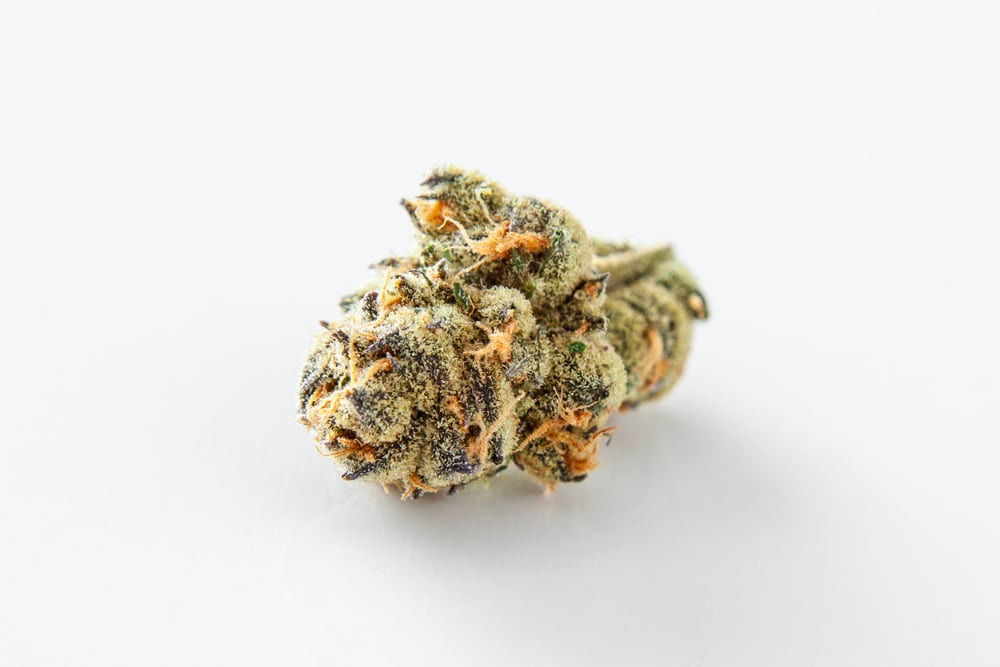
- Orange or red pistils: Orange hairs on weed mean that the plant is mature.
- Strong aroma: The classic dank smell of weed is a surefire sign that the buds are ready.
- Cloudy trichomes: When the clear trichomes turn cloudy, it means the cannabinoid levels are high and ready to be activated.
- Falling/yellow fan leaves: Towards the end of flowering, plants focus all their energy on nurturing the buds. Fan leaves sometimes fall off or become yellow since they don’t receive much nourishment at this point.
Drying and curing tips for quality buds
Once you harvest your buds, hang them in a sterile environment for 2–3 days. They should feel dry to the touch but shouldn’t crumble easily.
Curing the buds is an essential step to prolonging their shelf life. It also removes harmful bacteria and preserves the aromatic profile and potency. It may sound difficult, but it’s surprisingly straightforward.
Store the buds in a clean glass jar for up to four weeks. Put them in a dark location, as light affects the terpenoid profile. Use a hygrometer to ensure the humidity inside the jars is between 55–65%.
Open the jars for a few minutes every day to prevent air stagnation. Some extra resinous strains may take longer than four weeks to cure completely. Be patient and keep the humidity lower to prevent mold buildup.
Advanced marijuana growing tips
Let’s talk more about advanced marijuana growing tips like training and supplementing.
Training your cannabis plants
Every cannabis bible talks about the benefits of purposeful stress for cannabis. At the right time, it can boost your harvest and bud potency.
Techniques like pruning, topping, and LST
Pruning is a technique that involves cutting off parts that are dead or don’t get much light. Instead of wasting energy on unnecessary foliage, the plant focuses on bud production.
Topping is a method that cuts the main stalk, forcing it to develop bushier. It stimulates growth and boosts the plant’s health and yield.
Low-stress training (LST) involves manipulating the plant’s apical dominance to promote horizontal growth. It increases light penetration to branches that would otherwise be overshadowed.
Benefits of training for yield and potency
Training your cannabis crops helps you get the most out of them. Methodically stressing your plants promotes growth and resin production. LST ensures all the branches create plump buds. Without it, the nugs at the bottom don’t receive enough light and are brittle and airy.
Boosting your buds
Training is one of the ways to boost your bud quality. Let’s discuss other methods.
Tricks for increasing potency and yield
Increasing the light intensity is one of the best ways to boost yields and potency. With more light, plants have sufficient energy for new bud sites and don’t overstretch.
A pro tip is to provide a source of sugar towards the end of flowering. This step bulks up the buds and improves the flavor. Simply add one teaspoon of blackstrap molasses per gallon of water. This tip only works for soil mediums.
Using supplements safely and effectively
Experienced growers know that when it comes to nutrients, less is more. Your plants feed off the light, while the vitamins assist in using the energy. You achieve potent yields when you give them the right amount of nutrition.
Managing common pests and diseases
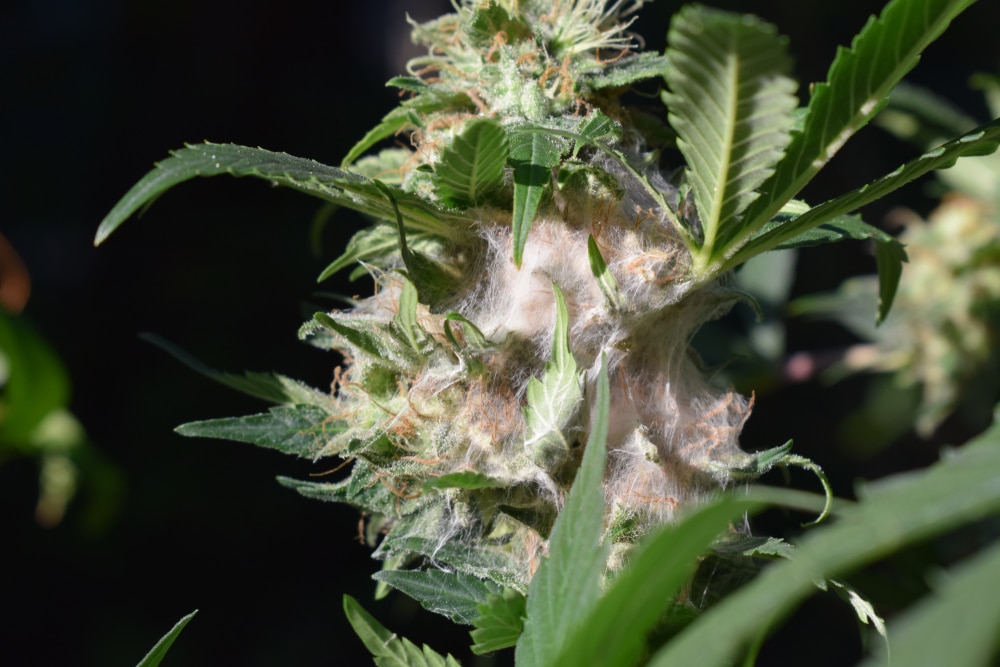
Pests are a common problem growers face, but most of them are easy to deal with. Diseases can be challenging to fix, and some are fatal for your plant babies.
Prevention and organic control methods
When growing cannabis outdoors, companion planting is an excellent option. It involves putting other plants around your setup. This method increases the biodiversity of the soil and attracts predatory insects.
For added benefits, grow plants with pesticide qualities, like basil, rosemary, and marigolds. Always sterilize outdoor soil first. Use solarization or steam sterilization to remove harmful bacteria prior to planting.
Neem oil is one of the most popular organic pesticides. It doesn’t just keep insects at bay, it also helps your cannabis plants grow and keep a vibrant color.
Identifying and treating nutrient deficiencies
Nutrient deficiencies are tricky to treat without knowing how to identify them. Here are some common ones and their signs:
- Phosphorus: Lower leaves with copper blotches or blue-green leaves. Some leaves turn purple, curling and falling off. Stunted vertical growing.
- Nitrogen: Stunted growth, lower leaves yellowing, and premature flowering.
- Zinc: Wrinkled leaves and bundled shoots. Burned and discolored leaf tips.
- Calcium: Short plants and delayed flowering. Yellow and brown spots and bottom leaves curling.
- Magnesium: Old leaves dry up and newer ones have yellow and brown spots.
- Sulfur: New growth is lime green and stems have purple streaks. The plant struggles with bud formation.
- Potassium: Tips of leaves burn and older leaves appear pale. Stems are weak and flowering is disappointing.
- Iron: Interveinal chlorosis in new leaves and overall delayed growth. Small harvest and leaf necrosis.
- Manganese: Interveinal chlorosis with dark margins. Dead spots on foliage.
Tips for troubleshooting common growing issues
Marijuana plants are resilient, but problems can arise unsuspectingly. Let’s discuss some marijuana growing tips for figuring out what’s wrong with your greenery.
Dealing with growth issues
The first step in dealing with any growing issues is to diagnose the problem. Then you can resolve the matter accordingly.
Common signs of stress and their causes
Here are some of the common signs and causes of stress in cannabis plants:
- Downward curling leaves: Overwatering suffocates the plant. It causes low oxygen levels in the soil. With too much moisture, the leaves become limp and saggy.
- Wilted and dry leaves: When cannabis plants are dehydrated, their foliage droops. The leaves become dry, making photosynthesis difficult.
- Yellow or brown leaves: If the tips are brown or yellow, it’s a sign of heat stress or light burn. When the whole leaf or large chunks of it yellow, it’s signaling a nutrient deficiency.
Resolving issues related to lighting, watering, and nutrients
Once you identify the problem, solving it is easier. Typically, the first step is to flush the soil and replenish it with nutrients and water. Ensure your lights are 16–36 inches away from the canopy to prevent heat stress and light burn.
Handling harvest and post-harvest issues
Dealing with issues during or after harvest can be tricky. Severe problems, like diseases or mold, may be fatal. If left untreated, you may end up losing your entire yield.
Identifying and correcting harvesting mistakes
Mold and nutrient burn are common problems during harvest. If you spot mold, immediately remove the infected parts. It can spread quickly and ruin your buds. Lower the humidity to 40–60% to prevent mold buildup.
Flush your plants two weeks before harvest and don’t feed them more nutrients. This step prevents nutrient burn and gives you tasty buds.
Tips for troubleshooting curing problems
Mold is a common problem when curing cannabis. The humidity in the jars can create stagnant air and high moisture levels. A common type, Botrytis, creates a gray-white layer on the buds and is harmful to smoke.
Trim off excess foliage that could trap moisture. Ensure the jars are squeaky clean. Open the lids for a few minutes daily to burp them.
Growing with confidence
Now that you have the best marijuana growing tips, we hope your next grow project will flourish. The key is to ensure your plants have a comfortable environment. Satisfy their needs throughout the stages to keep them happy.
By far the best tip is to start with high-quality cannabis seeds. If you grow seeds with unstable genes, no amount of technique will help your plants thrive. Shop our selection of top-class options at The Seed Fair.
Embracing challenges as opportunities for learning
Expert growers know that cannabis plants are surprisingly resilient. Embrace challenges and see them as a chance to learn.
Additional resources for marijuana growers
The internet is packed with resources. A simple Google search can render thousands of informative pieces, but be careful. Get growing tips from verified and trustworthy sources.
The Marijuana Grower’s Handbook is an oldie but still one of the best books. Ed Rosenthal packs the best tips for cultivating marijuana and dealing with challenges.
For access to more information on a variety of cannabis growing topics, check out our blog.


