Complete Guide to Cannabis Plant Problems & Fixes
Jun
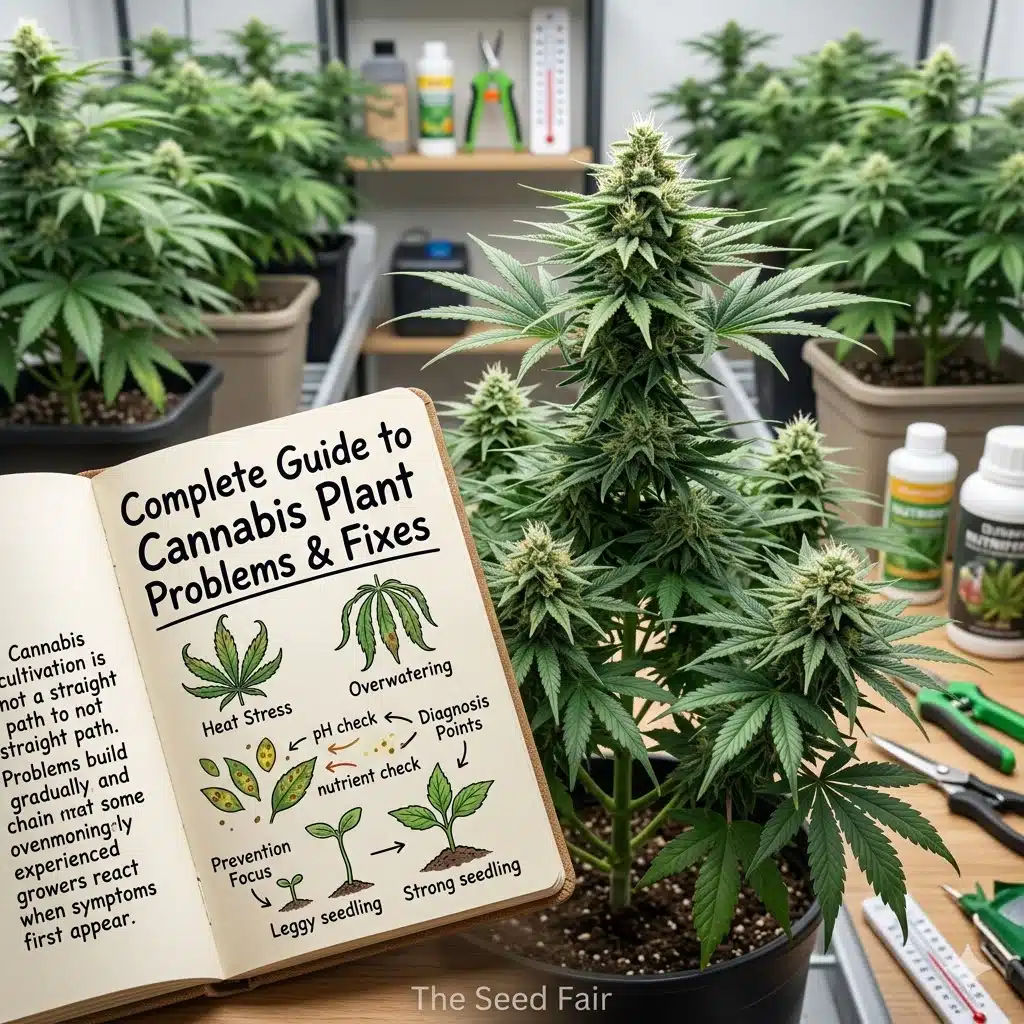
Cannabis cultivation is not a straight path from seed to harvest. Even in controlled environments, plants constantly respond to small environmental shifts, feeding mistakes, pests, pathogens, and genetic instability. These issues rarely appear all at once. Instead, they build gradually—starting with subtle leaf changes, slowed growth, or minor stress signals that are often ignored until they become serious problems.
Most cultivation failures don’t happen because of one catastrophic mistake. They happen because early warning signs were missed.
This guide breaks down the most common cannabis plant problems, why they happen, how to identify them early, and what actually works in real growing environments to correct them.
Each section focuses on practical diagnosis and correction, not theory alone.
Understanding Cannabis Plant Stress: Why Problems Always Start Small
Before looking at individual issues, it’s important to understand a core principle of cultivation:
Cannabis plants always show stress before they fail.
The earliest signs usually include:
- Leaf discoloration
- Slight drooping or curling
- Slowed vertical growth
- Uneven leaf structure
- Reduced vigor
These signals are the plant’s way of communicating imbalance in:
- Water uptake
- Nutrient absorption
- Root oxygen levels
- Light exposure
- Temperature stability
Most growers only react when symptoms become severe. Experienced growers react when symptoms first appear.
Brown Spots on Weed Leaves
Brown spotting is one of the most misunderstood cannabis problems because it can be caused by multiple overlapping issues.
Common causes include:
- Calcium deficiency
- Potassium imbalance
- Light burn damage
- Early fungal infection
Brown spotting is often one of the earliest visible signs of calcium-related problems, although other nutrient and environmental issues can produce similar symptoms. Learning to recognize the pattern of calcium deficiency in cannabis plants can help narrow down the underlying cause before making feeding adjustments.

In many grows, the underlying issue is not a true deficiency but cannabis nutrient lockout, where nutrients are present in the growing medium but unavailable to the roots because of pH or root-zone problems.
Correct approach:
- Check root zone pH stability
- Inspect light distance and intensity
- Evaluate nutrient schedule consistency
- Remove severely damaged leaves to reduce stress load
Brown spots rarely disappear on affected tissue, but progression can be stopped.
Drooping Cannabis Leaves (Troubleshooting Guide)
Drooping is not a disease—it is a symptom.
The plant is signaling that its internal water and oxygen balance is disrupted.
Main causes:
- Overwatering (most common)
- Underwatering
- Root oxygen deprivation
- Heat stress
Overwatered plants often look “tired” even when soil is wet, while underwatered plants look limp but dry.
Correct approach:
- Check soil moisture at root depth, not surface level
- Ensure proper drainage
- Improve airflow in root zone
- Adjust watering frequency based on plant size, not schedule
Drooping is one of the fastest reversible cannabis problems if corrected early.
Leaf Curling: Up, Down, and Environmental Triggers
Cannabis leaves curl in different directions depending on stress type.
Leaf Curling Up (Heat or Light Stress)
- Leaves form taco shape
- Caused by intense light or high temperature
Leaf Curling Down (Overwatering or Nitrogen Excess)
- Leaves feel heavy and rigid
- Often linked to root zone suffocation or nutrient imbalance
General Curling (Environmental Instability)
- Fluctuating humidity or inconsistent feeding
Correct approach:
- Stabilize temperature and humidity
- Adjust light distance
- Normalize feeding strength
- Avoid sudden environmental changes
Curling is one of the clearest early warning signs in cannabis cultivation.
Yellow Spots in Cannabis Leaves
Yellow spotting often indicates early nutrient disruption or pest activity.
Common causes:
- Magnesium deficiency
- Early spider mite damage
- pH fluctuations
- Light irregularities
Unlike full yellowing, spotted patterns usually indicate localized stress, often beginning at leaf edges or veins.
Correct approach:
- Inspect undersides of leaves for pests
- Test nutrient balance
- Stabilize watering routine
- Improve airflow around canopy
Spots are early-stage damage—fast intervention prevents spread.
Cannabis Seedlings Turning Yellow
Seedlings are extremely sensitive because their root systems are still developing.
Yellowing at this stage is usually caused by:
- Overwatering
- Weak or unstable lighting
- Poor oxygen availability in soil
- Excess nutrients (very common beginner mistake)
Seedlings do not require heavy feeding. In many cases, nutrient addition is unnecessary in the first stage.
Correct approach:
- Reduce watering frequency
- Ensure light intensity is not excessive
- Avoid nutrient-heavy soil early on
- Maintain warm, stable humidity
Seedling health determines long-term plant structure.
Leggy Cannabis Seedlings
Leggy growth is characterized by:
- Long, weak stems
- Wide node spacing
- Thin structure
This is almost always caused by:
- Insufficient light intensity
- Light positioned too far away
The plant stretches in search of energy.
Correct approach:
- Increase light intensity gradually
- Position light closer (without heat stress)
- Maintain stable photoperiod
- Avoid low-light environments during early growth
Leggy seedlings rarely regain their original structure, but early correction can still result in healthy, productive plants. Learn more about preventing and correcting leggy cannabis seedlings during early development.
Cannabis Wind Burn
Wind burn occurs when airflow is too strong or constant.
Symptoms:
- Crispy leaf edges
- Dry, twisted leaves
- Localized damage on wind-facing side
Unlike nutrient issues, wind burn is mechanical stress.
Correct approach:
- Reduce fan intensity
- Avoid direct airflow on single points
- Maintain gentle air circulation instead of forceful wind
Air movement should support transpiration—not damage tissue.
Cannabis Light Burn
Light burn happens when intensity exceeds the plant’s tolerance range.
Symptoms:
- Bleached leaf tops
- Yellowing at canopy level
- Curling upward leaves
Light burn happens when intensity exceeds the plant’s tolerance range. While excessive heat near the canopy is a common contributor, cold stress can also reduce plant performance and create similar signs of environmental stress. Understanding the lowest temperature cannabis can withstand helps growers maintain a more stable growing environment throughout the entire grow cycle.
Correct approach:
- Increase light distance
- Reduce intensity if adjustable
- Monitor canopy temperature, not just air temperature
Light burn is often mistaken for nutrient deficiency, leading to incorrect fixes.
Powdery Mildew
Powdery mildew is a fungal infection that spreads rapidly in humid environments.
It appears as:
- White powder-like coating on leaves
- Spreading patches across canopy
Conditions that trigger it:
- Poor airflow
- High humidity
- Dense canopy structure
Correct approach:
- Improve ventilation
- Reduce humidity levels
- Remove infected leaves immediately
- Prevent overcrowding
Once established, mildew spreads fast across entire crops.
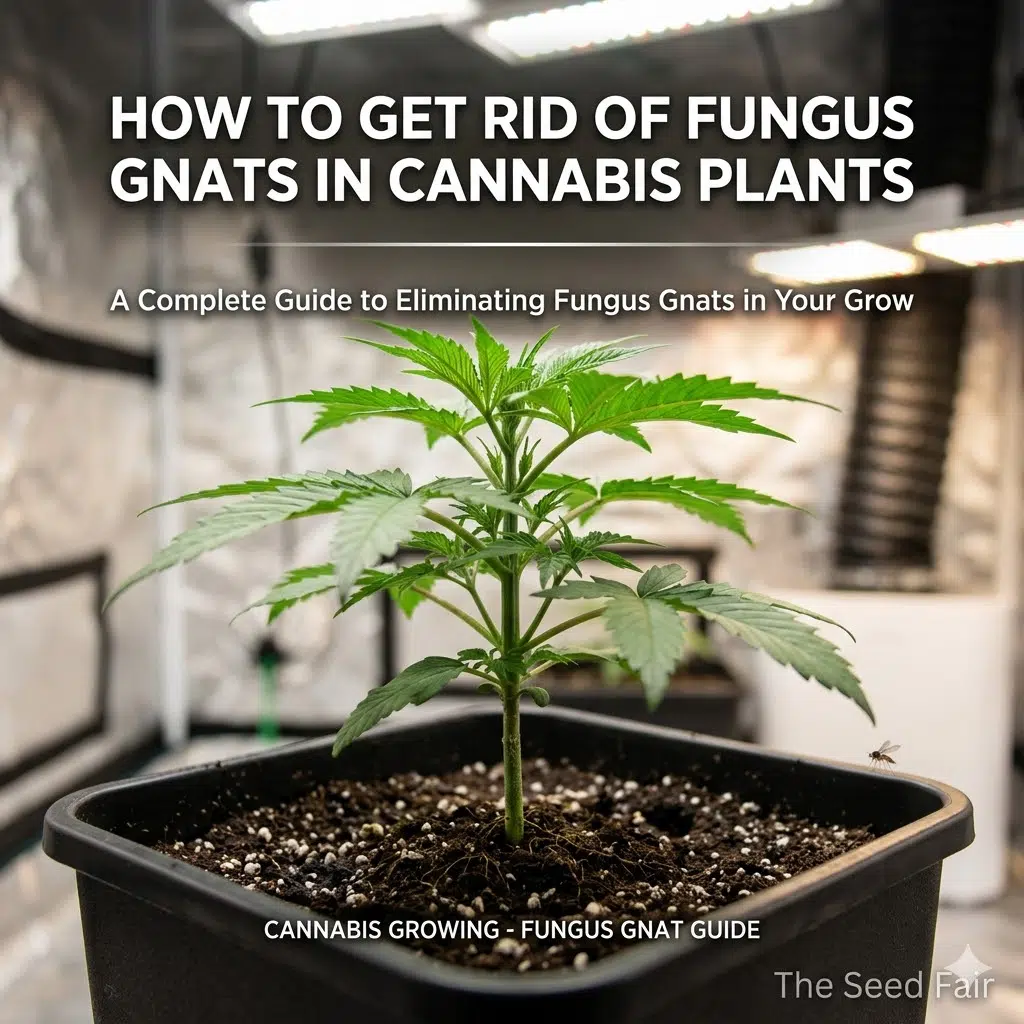
Fungus Gnats in Cannabis
Fungus gnats are one of the most common indoor cultivation pests.
They thrive in:
- Moist soil
- Organic-rich environments
- Overwatered conditions
Life cycle includes:
Egg → Larva → Pupa → Adult
The real damage comes from larvae, which feed on root tissue.

Symptoms:
- Slow growth
- Weak seedlings
- Soil surface movement
- Yellowing and stress signs
Control methods:
- Reduce watering frequency
- Use sticky traps
- Apply neem-based treatments
- Improve soil airflow
Fungus gnats are often a symptom of consistently wet growing conditions rather than an isolated pest problem. Our guide to getting rid of fungus gnats in cannabis plants explains how to break their life cycle and reduce future infestations.
Tobacco Mosaic Virus in Cannabis
Tobacco Mosaic Virus (TMV) is one of the most persistent plant viruses affecting cannabis.
It spreads through:
- Human contact
- Tools and equipment
- Infected soil or water
- Contaminated plant material
Symptoms:
- Mottled leaf coloration
- Stunted growth
- Weak structure
- Reduced yield
There is no cure once infection is established.
Correct approach:
- Remove infected plants immediately
- Disinfect tools and grow space
- Prevent cross-contamination
- Maintain strict hygiene protocols
Prevention is the only real defense.
Cannabis Not Flowering
When cannabis does not enter flowering, the issue is almost always environmental or genetic.
Main causes:
- Incorrect light cycle (photoperiod plants)
- Excess nitrogen during transition
- Light leaks in dark period
- Genetic instability
Indoor flowering requires strict:
- 12/12 light cycle for photoperiod plants
- Stable darkness period
Autoflowers do not depend on light cycles but still require stable conditions.
Correct approach:
- Fix light schedule consistency
- Reduce nitrogen during transition
- Eliminate light leaks
- Ensure environmental stability
Flowering delay is often reversible if caught early.
Cannabis Seedling Problems
Seedlings face multiple risks due to undeveloped structure.
Common problems include:
- Overwatering
- Underwatering
- Nutrient stress
- Heat exposure
- Light imbalance
Because seedlings operate on limited energy reserves, mistakes at this stage have long-term consequences.
Correct approach:
- Maintain minimal but consistent watering
- Avoid nutrient overload
- Stabilize temperature and humidity
- Ensure gentle lighting conditions
Seedling stability determines entire crop performance.
Hermaphrodite Cannabis Plants
Hermaphrodites develop both male and female reproductive structures due to stress or genetics.

Causes:
- Light stress
- Temperature fluctuations
- Nutrient imbalance
- Genetic predisposition
- Physical damage
Risk:
- Self-pollination
- Seed production in buds
- Reduced flower quality
Correct approach:
- Remove pollen sacs early if possible
- Isolate affected plants
- Remove severely unstable plants
Hermaphroditism is a survival response—not a random event.
Can You Smoke Hermaphrodite Cannabis?
Technically yes—but quality is compromised.
Issues include:
- Lower potency
- Presence of seeds
- Harsh smoke profile
- Reduced terpene quality
Best use cases:
- Extracts
- Concentrates
- Breeding material
For consumption quality, stable female plants are always preferred.
Final Takeaway: Cannabis Problems Are Always Preventable at the Early Stage
Nearly every cannabis problem follows the same pattern:
Early stress → visible symptom → delayed correction → major plant damage
Whether dealing with pests, nutrient issues, environmental stress, or genetic instability, success in cultivation depends on early recognition.
Most experienced growers don’t “fix problems”—they prevent escalation.
Stable environment, consistent observation, and controlled feeding are the foundation of healthy cannabis growth from seedling to harvest.
Alexander Broodryk is a very skilled grower and has been writing about his experiences online for many years. With over 5 years in the Cannabis Industry Alexander is not only engaging with many of his audiences but also informational. Alex has a lot of writings about Cannabis all over online and we are very happy to have him here at The Seed Fair helping to contribute his well thorough content for our website. He is dedicated to educating readers on the latest developments and trends in this rapidly evolving market. Check out his biography under our Author pages at Alexander Broodryk, Author at The Seed Fair.