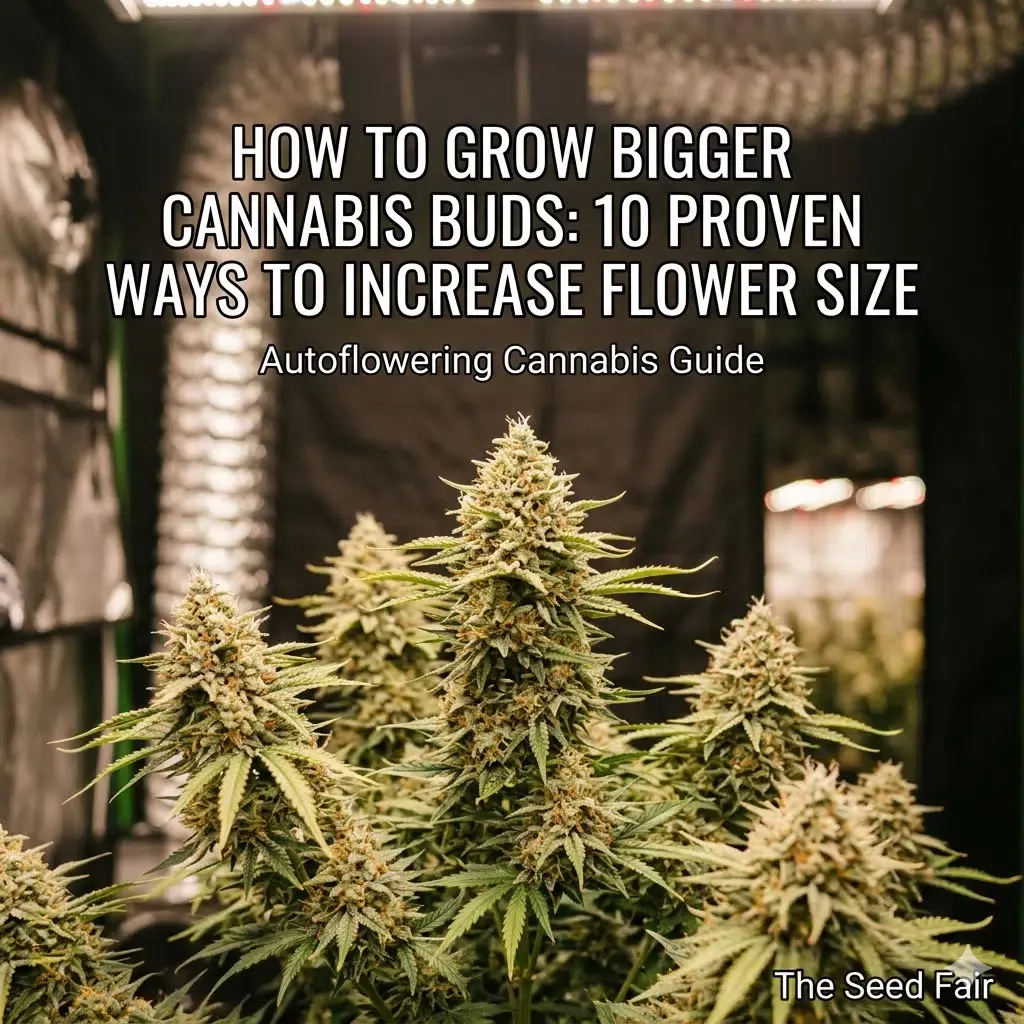
Autoflower Cannabis: The Complete Grow Guide From Seed to Harvest
Jun
Autoflowering cannabis has changed the way many growers approach cultivation. Instead of managing strict light schedules and long vegetative periods, autoflowers offer a faster, simpler route from seed to harvest. Most modern autoflower strains can finish their entire life cycle in as little as 8–12 weeks while still producing potent, resin-rich flowers.
But growing autoflowers successfully requires understanding one important reality: they do not have much time to recover from mistakes.
Unlike photoperiod cannabis plants, autoflowers flower according to age rather than changes in light cycle. If growth is slowed by overwatering, transplant shock, poor lighting, or nutrient problems during the first few weeks, there is often little time to make up for lost growth before flowering begins.
The good news is that modern autoflower genetics have improved dramatically. Today’s best autoflower strains can produce impressive yields, strong cannabinoid content, and excellent terpene profiles when grown correctly.
Starting with stable autoflower cannabis seeds gives growers the best opportunity to take advantage of these modern genetics from the very beginning.
This guide covers everything you need to know about growing autoflowers, including their life cycle, lighting requirements, pot selection, nutrients, training methods, harvesting, and proven techniques for maximizing yields.
What Are Autoflowering Cannabis Plants?
Autoflowering cannabis plants are cannabis varieties that contain Cannabis ruderalis genetics. Unlike traditional photoperiod cannabis, which requires long nights to trigger flowering, autoflowers begin flowering automatically after a certain age.
This genetic trait gives autoflowers several advantages:
- Faster harvests
- Smaller, more manageable plants
- Simpler lighting requirements
- Multiple outdoor harvests per season
- Easier cultivation for beginners
Most autoflowers transition into flowering after approximately 3–5 weeks of vegetative growth regardless of the light schedule they receive.
This means growers do not need to switch from an 18/6 light schedule to 12/12 to trigger flowering as they would with photoperiod cannabis.

The tradeoff is that autoflowers have less flexibility. While photoperiod plants can remain in vegetation indefinitely, autoflowers follow a fixed biological timeline.
Autoflower vs Photoperiod Cannabis
Many growers ask whether autoflowers or photoperiod plants are better.
The answer depends on your goals.
Autoflowers
Advantages:
- Faster harvests
- Simpler cultivation
- Smaller plant size
- Great for limited spaces
- Multiple outdoor harvests possible
Disadvantages:
- Less recovery time from stress
- Limited training window
- Typically smaller plants
- Less control over vegetative growth
Photoperiod Plants
Advantages:
- Larger plant size
- Higher yield potential
- More training options
- Longer recovery periods
Disadvantages:
- Longer grow cycle
- More complex lighting requirements
- Larger grow spaces required
For growers looking for speed, simplicity, and efficiency, autoflowers are often the better choice.
The Autoflower Life Cycle Week by Week
Understanding the autoflower grow stages week by week makes it much easier to know what your plants need during each phase, from germination through harvest.
Week 1: Germination and Early Seedling
The first week is all about establishing roots.
During this stage:
- Seeds germinate
- Cotyledons emerge
- The first true leaves begin forming
Many growers lose seedlings during this phase because they overwater them. Small seedlings require very little water.
Experienced growers often focus on maintaining stable humidity and warm temperatures rather than feeding nutrients during the first week.
Week 2: Seedling Development
By week two, plants begin developing their first sets of serrated leaves.
At this stage:
- Root development accelerates
- Stems become stronger
- Growth becomes more vigorous
If you’re using quality soil, additional nutrients are often unnecessary during this period.
One common mistake beginners make is feeding seedlings too aggressively. Young autoflowers are far more likely to suffer from nutrient burn than nutrient deficiencies during this stage.
Weeks 3–4: Vegetative Growth
This is where the real growth begins.
During weeks 3 and 4:
- Plants gain height rapidly
- Branches begin developing
- Leaf production accelerates
- Root systems expand significantly
This is also the ideal time to begin low-stress training (LST).
Many experienced growers start training around day 18–21. At this point stems remain flexible enough to bend safely while still being strong enough to support training.
Because autoflowers have such a short vegetative period, maximizing this stage is critical for larger harvests.
Week 5: Pre-Flower
Around week 5 most autoflowers begin showing pre-flowers.
Female plants develop:
- White pistils
- Visible bud sites
- Increased vertical growth
Many growers make the mistake of switching nutrients too early. If the plant is still actively stretching and building structure, it may still benefit from some vegetative nutrients before fully transitioning to bloom formulas.
Weeks 6–9: Flowering
Flower production becomes the priority.
During flowering:
- Buds begin swelling
- Trichome production increases
- Aromas intensify
- Vertical growth slows
Humidity management becomes increasingly important.
Dense autoflower buds can be susceptible to:
- Mold
- Powdery mildew
- Bud rot
Maintaining good airflow and lower humidity levels can prevent many of these problems.
Weeks 10–12: Harvest Window
Many autoflowers finish during this period.
Signs of maturity include:
- Cloudy trichomes
- Dense buds
- Darkened pistils
- Strong aromas
- Yellowing fan leaves
The exact timing depends heavily on genetics and growing conditions.
Best Light Schedule for Autoflowers
One of the biggest advantages of autoflowers is flexibility.

Because they flower based on age rather than darkness, growers can use several different light schedules throughout the grow.
Choosing between 18/6, 20/4, and 24/0 can influence growth rate, electricity use, and overall plant performance. Comparing each option helps you find the best balance for your growing environment.
20/4 Light Schedule
For most growers, the 20/4 schedule offers the best balance between growth and recovery.
Advantages include:
- Excellent growth rates
- Reduced electricity usage compared to 24/0
- Small daily recovery period
- Consistent results
Many experienced autoflower growers consider 20/4 the sweet spot.
18/6 Light Schedule
The 18/6 schedule remains extremely popular.
Benefits include:
- Lower energy costs
- Reduced heat production
- Excellent plant health
While yields may be slightly lower than under 20/4 in some situations, many growers report excellent results.
24/0 Light Schedule
Continuous light can maximize photosynthesis.
However:
- Electricity costs increase
- Heat management becomes more difficult
- Some plants show signs of stress
While 24/0 can work, most growers find 20/4 more practical.
Best Pot Size for Autoflowers
One of the most common mistakes beginners make is using the wrong pot size.
Because autoflowers dislike transplanting, most experienced growers start seeds in their final containers.
Recommended Pot Sizes
Small autoflowers:
6–8 litres (1.5–2 gallons)
Medium autoflowers:
9–10 litres (2–3 gallons)
Large autoflowers:
11–15 litres (3–4 gallons)
In a survey of 500 growers, the most common container size used for autoflowers was 5 gallons or less.
Bigger pots are not always better.
Excessively large containers can:
- Hold too much moisture
- Increase overwatering risk
- Slow early root development
Fabric Pots vs Plastic Pots
Many growers now prefer fabric pots because they:
- Improve airflow
- Encourage air pruning
- Improve drainage
- Reduce root circling
Fabric pots have become one of the most widely recommended container types for autoflower cultivation.
Best Nutrients for Autoflowers
Autoflowers generally require fewer nutrients than photoperiod plants.
Their shorter lifecycle means they consume fewer overall resources.
Primary Macronutrients
Cannabis requires three major nutrients:
Nitrogen (N)
Supports:
- Leaf growth
- Stem growth
- Vegetative development
Phosphorus (P)
Supports:
- Root development
- Flower production
- Energy transfer
Potassium (K)
Supports:
- Water movement
- Disease resistance
- Flower formation
Secondary Nutrients
Autoflowers also require:
- Calcium
- Magnesium
- Sulfur
Plus trace elements such as:
- Iron
- Zinc
- Manganese
- Boron
- Copper
- Molybdenum
Simple Autoflower Feeding Schedule
Many growers find success using a conservative feeding approach:
Weeks 1–2: Plain water
Weeks 2–4: Light vegetative nutrients
Weeks 5–6: Transition nutrients
Weeks 6–9: Bloom nutrients
Final week: Water only or reduced feeding
One of the biggest mistakes growers make is assuming autoflowers require the same nutrient strength as photoperiod plants.
In many cases, autos perform best at half-strength feedings.
Low-Stress Training (LST) for Bigger Yields
Low-stress training is one of the most effective ways to increase autoflower yields.
The goal is simple:
Expose more bud sites to direct light.

Instead of allowing one dominant cola to monopolize resources, LST creates a wider, flatter canopy.
Why LST Works
When branches are gently pulled outward:
- More light reaches lower bud sites
- Canopy development becomes more even
- More flowering sites receive energy
In a survey of 305 growers, 44% reported noticeable yield improvements after using LST techniques on autoflowers.
When to Start LST
Most growers begin around:
- Day 18–21
- Early vegetative growth
- After multiple nodes have developed
When to Stop LST
Stop major training once:
- Flowering begins
- Stems become rigid
- Bud development accelerates
At this point, forcing branches into new positions can do more harm than good.
Can You Clone Autoflowers?
Technically, yes.
Practically, it usually isn’t worth it.
The problem is simple:
Autoflowers maintain their biological age.
If you take a cutting from a four-week-old autoflower, the clone is also effectively four weeks old.
While the clone spends time developing roots, its internal flowering clock continues counting down.
This often results in:
- Small clones
- Poor structure
- Low yields
Most growers achieve better results by starting fresh seeds rather than cloning autoflowers.
How Much Do Autoflowers Yield?
Yield depends on several factors:
- Genetics
- Lighting
- Pot size
- Nutrients
- Environment
- Training
- Harvest timing
Average Indoor Yields
Most growers can expect:
- 60–150 grams per plant
Under optimized conditions:
- 150–250+ grams per plant
Outdoor Yields
Healthy outdoor autos often produce:
- 100–200+ grams per plant
Exceptional plants can exceed these numbers.
The biggest factor influencing yield is not genetics alone.
It is how effectively growers maximize the short vegetative period.
How to Maximize Autoflower Yields
After reviewing grower surveys and cultivation reports, several practices consistently separate high-yield growers from disappointed growers.
Start Seeds in Final Containers
Avoid transplant shock whenever possible.
Use Quality Genetics
Good genetics solve many problems before they begin.
Prioritize Light Intensity
In grower surveys, light intensity consistently ranked as one of the most important factors affecting yield.
Use Low-Stress Training
LST remains one of the safest and most effective yield-enhancement techniques available.
Maintain Healthy Root Zones
Healthy roots create healthy plants, and one of the biggest factors is watering correctly throughout each stage of the grow. Overwatering and underwatering are among the most common causes of stunted autoflowers, making a consistent watering routine just as important as nutrients or lighting.
Focus on:
- Proper drainage
- Correct watering
- Good aeration
Control Humidity
Target ranges:
Seedlings: 70–80%
Vegetative growth: 50–60%
Flowering: 40–50%
Avoid Overfeeding
Many growers lose yield through excessive feeding rather than underfeeding.
Autoflowers generally prefer lighter nutrient schedules.
When to Harvest Autoflowers
Harvest timing can dramatically impact quality.
Many new growers harvest too early because pistils have darkened.
Experienced growers rely on trichomes instead.
Check Trichomes
Clear trichomes:
- Not ready
Cloudy trichomes:
- Peak maturity
Amber trichomes:
- More relaxing effects
Other Harvest Indicators
Look for:
- Dense buds
- Strong aroma
- Fading fan leaves
- Reduced water consumption
Progressive Harvesting
Not all buds mature simultaneously.
Many experienced growers harvest:
- Top buds first
- Lower buds 1–2 weeks later
This technique can increase overall quality and maximize the plant’s potential.
Common Autoflower Growing Mistakes
Overwatering
The number one mistake beginners make.
Transplanting Autos
Transplant shock often reduces final plant size.
Feeding Too Heavily
Autoflowers usually require less fertilizer than photoperiod plants.
Weak Lighting
Poor light intensity limits growth and flower development.
Excessive Defoliation
Too much leaf removal often causes more harm than good.
Harvesting Too Early
Many plants still gain significant size and resin during the final weeks of flowering.

Patience often rewards growers with larger, more potent harvests.
If your plants begin showing slow growth, yellowing leaves, nutrient issues, or other signs of stress, learning to diagnose problems early can prevent small issues from affecting the rest of the grow.
Frequently Asked Questions
How long do autoflowers take from seed to harvest?
Most autoflowers finish in 8–12 weeks from seed.
What is the best light schedule for autoflowers?
Most growers prefer 20/4, although 18/6 also performs very well.
Do autoflowers need 12/12 lighting?
No. Autoflowers flower according to age rather than darkness.
What pot size is best for autoflowers?
Most autoflowers perform best in containers between 9 and 15 litres.
Can you transplant autoflowers?
You can, but it is generally not recommended because of stress.
Does LST increase yield?
Yes. Many growers report larger yields and better canopy development after using low-stress training techniques.
Should you defoliate autoflowers?
Light, strategic defoliation can help, but heavy defoliation is usually unnecessary.
When should I harvest autoflowers?
Harvest when trichomes are mostly cloudy and buds are fully swollen.
Final Thoughts
Modern autoflowers are no longer the low-yielding novelty they once were. Today’s genetics can produce impressive harvests in a remarkably short period of time.
The key to success is understanding that autoflowers reward consistency. Because their vegetative period is brief, every decision made during the first few weeks has a lasting impact on final yield.
Start with quality genetics, provide strong lighting, use the right container size, avoid unnecessary stress, and focus on healthy root development. Combine those fundamentals with proper harvest timing and simple low-stress training, and autoflowers can produce surprisingly large, high-quality harvests in as little as two to three months.
Alexander Broodryk is a very skilled grower and has been writing about his experiences online for many years. With over 5 years in the Cannabis Industry Alexander is not only engaging with many of his audiences but also informational. Alex has a lot of writings about Cannabis all over online and we are very happy to have him here at The Seed Fair helping to contribute his well thorough content for our website. He is dedicated to educating readers on the latest developments and trends in this rapidly evolving market. Check out his biography under our Author pages at Alexander Broodryk, Author at The Seed Fair.