How to Grow Marijuana at Home in 60 Days
Do you want to learn how to grow marijuana at home in 60 days? With our guide, it’s easier than you think.
There are many benefits to cultivating cannabis indoors. You control the climate and can easily protect your plants from extreme weather conditions and pests.
Read on to learn how to speed up the growing process and have potent buds in 60 days.
The basics of autoflowering cannabis
Autoflowering cannabis plants begin flowering based on age, typically after 2–4 weeks of vegging. Unlike photoperiod cannabis seeds, they don’t require a switch in the light schedule to bloom.
Indoor growing is perfect for non-photoperiod strains. They enter flowering automatically and deliver speedy results.
Many growers choose these strains because they seem easier to cultivate. However, since autos grow in a short period, they leave little room for error.
Autoflowers are fussy about their environment. Cultivating them in a controlled climate prevents fatal errors. They’re sensitive to stress, so avoid deficiencies, overfeeding, under/overwatering, rough transplants, and other common problems.
Thanks to their unique gene dosage, autoflowering varieties are quick growers. They’re typically harvest-ready around 8–10 weeks after sprouting. They usually have a compact size, making them perfect for small indoor spaces.
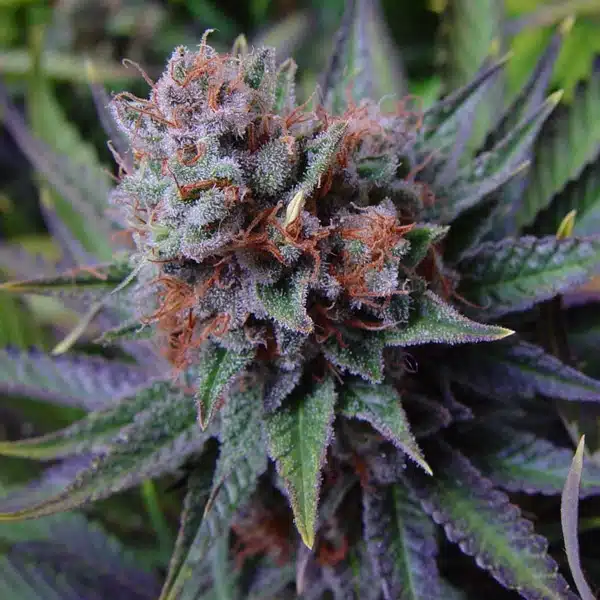
The genetics behind autoflowering cannabis
Breeders make autoflowering strains by combining sativa or indica plants with ruderalis genes. This type of cannabis has evolved to flower by age instead of the seasons. It’s found in places like Siberia where summers are short.
By mixing a ruderalis with a stable sativa or indica, you get the best of both worlds. The end product is a potent hybrid strain with the hardiness and quick flowering qualities of a ruderalis.
The potential benefits of autoflowering strains
Autoflowers are popular among beginners and veteran growers. They’re fast and easy to cultivate and produce decent harvests.
Autos have a compact size, so you can easily fit them in any indoor cultivation area. Their stealth makes them perfect contenders for guerrilla and balcony grows.
Outdoors, their robust and hardy nature helps them thrive, but this trait is strain-dependent. Autos are more tolerant of cold climates; a good option for those in less sunny locations. They’re also more disease resistant than photoperiods thanks to their ruderalis genes.
Autos produce potent, well-balanced buds in a speedy time. Most of them go from seed to harvest in less than 13 weeks. Their short life cycle suits growers looking for quick yields.
Understanding the growth cycle of autoflowering cannabis
Autoflowers go through the same growth stages as photoperiods, except they do it quicker. The key difference is they don’t require a switch in light cycles to trigger flowering.
The speedy development time is good news for some but bad news if you’re prone to growing mistakes.
The life cycle of an autoflowering cannabis plant
The autoflower life cycle includes four phases: germination, seedling, vegging, and flowering. Let’s unpack what each stage involves.
Seed germination stage
The first step in growing any cannabis seed is germination. It involves placing them in a wet, dark location and waiting for them to pop.
Germination takes anywhere from 24 hours to five days. The seeds develop taproots and two round cotyledon leaves. The hard outer shell opens up, allowing the roots to develop and the plant to grow.
Seedling stage
Once the root system and leaves start growing, your cannabis plant is in the seedling stage. Autoflower seedlings are particularly fussy about their environment.
Place them in a clean area with low relative humidity (RH). High levels invite bacteria and mold. Keep temperatures around 68–77°F with RH at 50–70%. Give them 16–24 hours of light.
Seedlings have small roots, so don’t overwater them.
Apply a nitrogen-based fertilizer to boost growth. Healthy seedlings are short, bendy, and have a vibrant green hue.
Vegetative stage
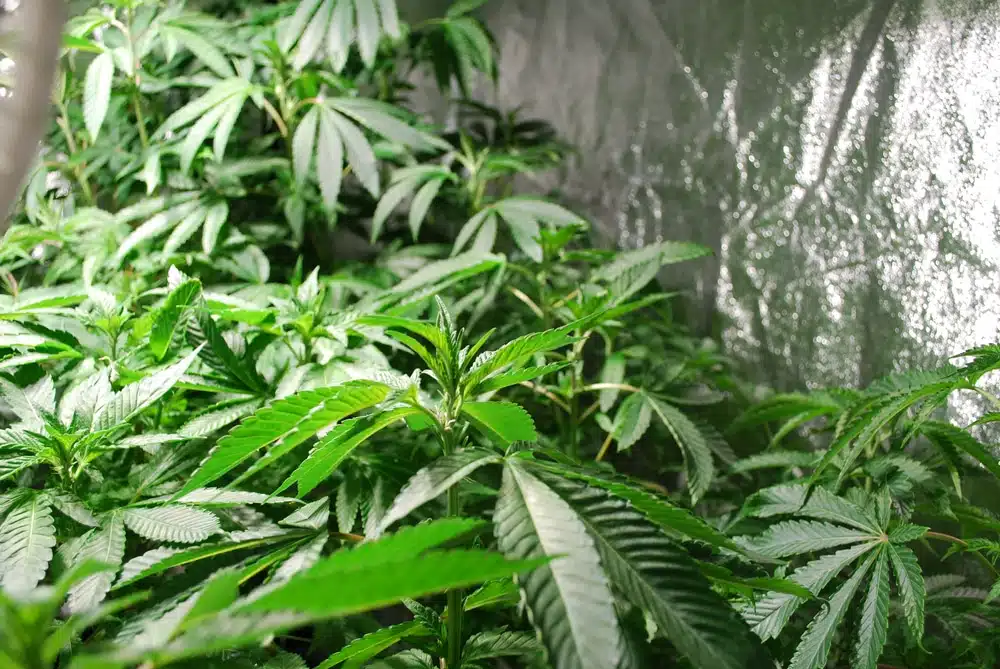
Once the plants develop full-fingered leaves, they’re in the vegging phase. During this stage, they gain the structural features of cannabis greenery.
Vegging plants have layers of vibrant foliage, thick colas, and large roots. They also acquire nodes, branches, and fan leaves.
When vegging, it’s easy to see the characteristics that tell you if the plant is male or female. Feminized cannabis seeds produce plants with two white pistils. Males have pollen sacs.
Flowering stage
The last growing stage is flowering. In this phase, you’ll notice thick, sticky matter known as resin. There are also crystals called trichomes. Potent buds tend to have more of these structures.
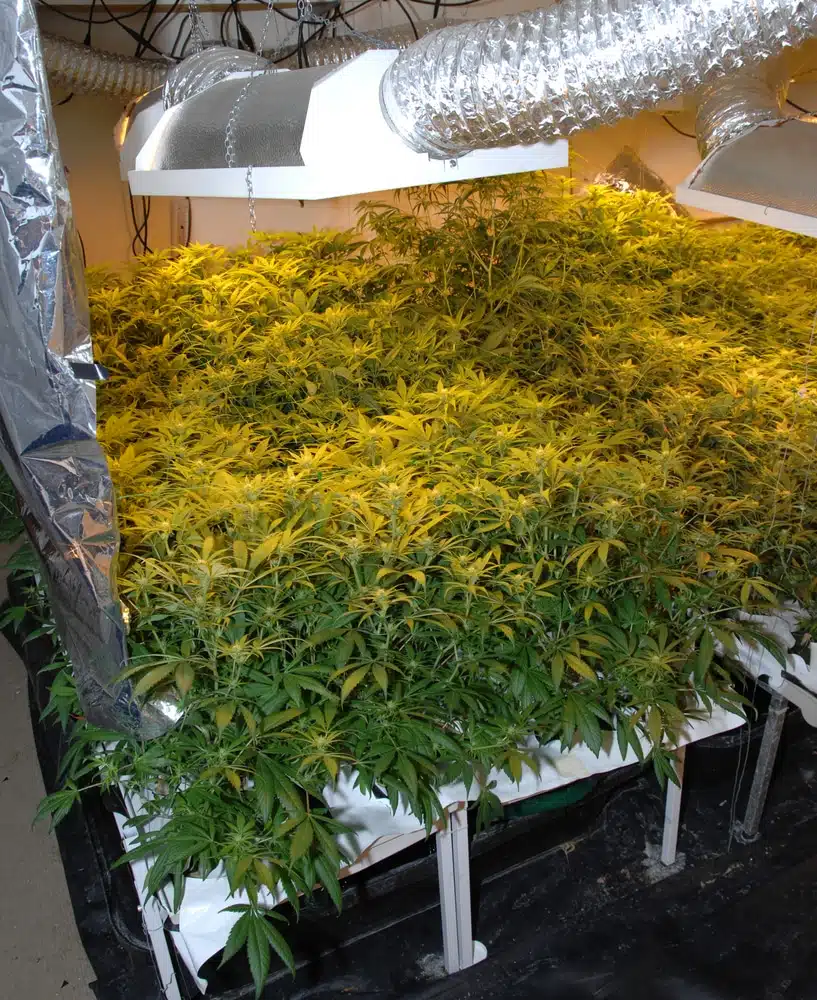
The importance of timing in growing autoflowering cannabis
Autoflowers go from seed to harvest quicker than most photoperiods. It’s essential to consider the speedy timing when implementing low-stress training. Stressing the plant out in the later stages affects your harvest.
Understanding the 60-day growth cycle
It’s essential to understand the typical 60 to 90 day growth cycle of autoflowers. Identifying the features of each stage lets you know how to feed and treat the plants.
How to grow marijuana at home in 60 days: A step-by-step guide
Most cannabis strains have a long vegetative stage of around 14–16 weeks. This is especially true when growing cannabis seeds outdoors.
When growing indoors, you can take advantage of environmental control. Shorten the vegetative stage and push your plants to flowering using light manipulation. This technique teaches you how to grow marijuana at home in 60 days.
Preparing your space for indoor growing
Indoor growing is trickier than outdoor cultivation. Outside, the natural elements cater to your plant’s needs. It’s essential to provide all your plant’s requirements when growing indoors. Light, hygiene, air quality, and sufficient space are crucial factors.
The first step to growing cannabis in 60 days is setting up the veg room.
Choosing the right space
If you go with autoflower seeds or shorter strains, any space can work. A bedroom cupboard is ideal for vegging, but even cardboard boxes have potential.
In general, about five vegging plants don’t require copious amounts of space. Find an area that isn’t prone to mold, like a bathroom cupboard. The location should be able to close and open to prevent excess light hours and maintain privacy.
Setting up your lighting
The veg room can be small, as the distance between the lights and plants is short. The crops don’t require strong lighting and aren’t affected by light leaks.
If you opt for a cardboard box, remember to use LED lights only. HID bulbs will set the box (and possibly your house) on fire. The most economical option is to use a few CFLs in your bedroom cupboard. Opt for LED or HID bulbs if you’re after rapid vegging.
Air circulation and temperature control
Bigger plants use more CO2 and release potent scents. If you opt for autoflower or outdoor weed seeds, ventilation isn’t a major concern.
Leave the cupboard door or box lid open for a few hours a day to maintain air circulation. You could also install a mini air purifier inside the room to keep the air clean.
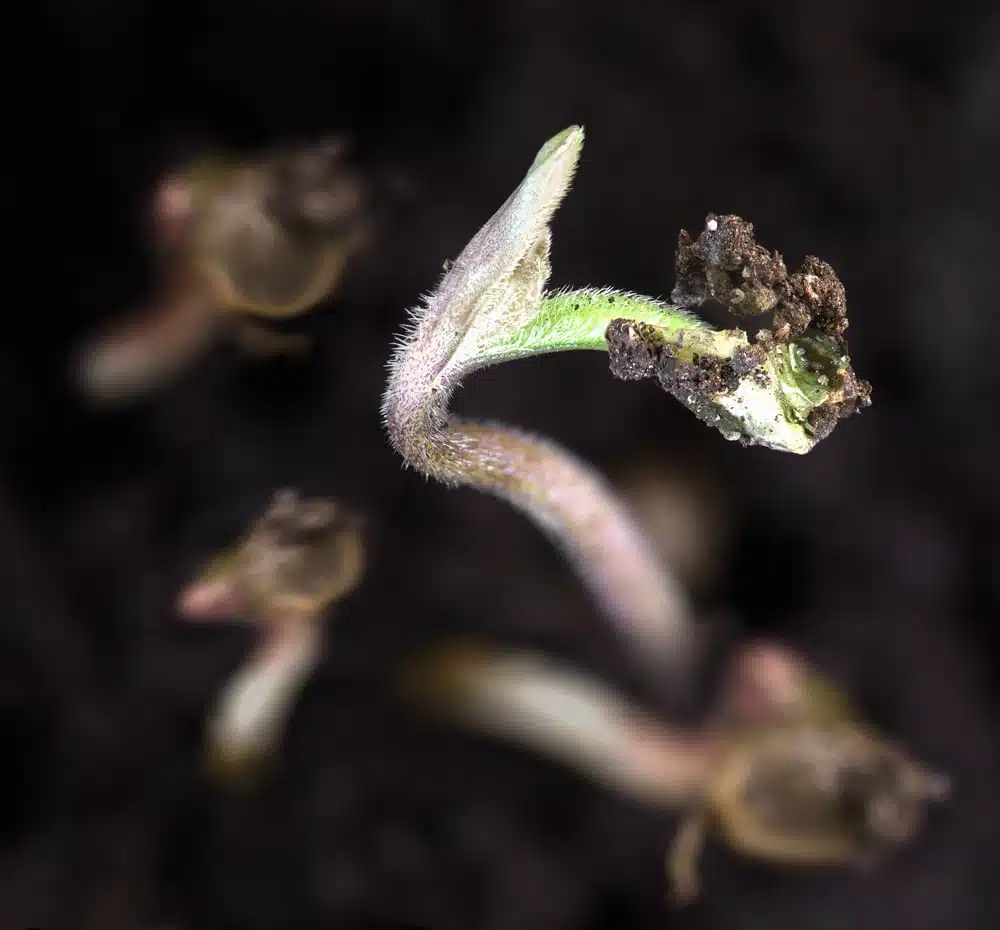
Getting started with your seeds
Now that you’ve selected an ideal growing area, let’s talk about choosing the right cannabis seeds.
Choosing your autoflowering strain
Genetics plays the biggest role in the success of your indoor grow. Select a strain with hardy characteristics and easy requirements.
Autoflowers can be tricky since you don’t have much time to fix any errors. Pick an auto that’s beginner-friendly and isn’t too fussy about the environment.
You should also select a strain that meets your smoking preferences. For uplifting, energizing effects, opt for sativa seeds. Ensure the strain isn’t prone to overstretching, as this poses problems with indoor grows.
Those who prefer relaxing, sedating effects enjoy indica strains. These cultivars can be bushy and often require pruning.
Germinating your seeds
Germinating your weed seeds is the first step, and it can make or break your grow. You can always plant the seeds directly in the soil, but for the best results, germinate them separately.
The paper towel method is the best germination technique. It has a high success rate and only requires a few basic items. Here’s how to do it:
- Put 2–4 damp paper towels onto a plate. Moisten them without thoroughly soaking them.
- Place the cannabis seeds onto the damp paper towels. Put them at least one inch apart from each other.
- Cover them with another damp paper towel.
- Place a plate on top of the first one as a lid.
- Store the seeds in a warm, dark, and dry place. You can also put the plate on a seedling heat mat for quick results.
- Within 1–5 days, your weed seeds should pop.
Transplanting and care during the vegetative stage
Once your seeds sprout and begin growing leaves, they’re ready for vegging. This stage helps them develop strong branches, colas, and foliage.
When and how to transplant your seedlings
When the seedlings develop a root system and a few cotyledon leaves, they’re ready to transplant. If you move them too early, they won’t survive the vegging climate.
Seedlings are fragile and accident-prone. Carefully move them to the medium. Use tweezers to transplant them gently.
Nutrient needs during the vegetative stage
Vegging plants require more nitrogen and potassium. These two essential nutrients help them develop a strong structure. They promote an efficient root system, firm colas, and nourished foliage.
They also need at least 18 hours of light for the high levels of photosynthesis required. If you’re growing in a closet or a small area, keep the doors open to prevent temperatures from soaring.
Monitoring your plant’s health
With photoperiods, you have time to fix any mistakes during vegging. Look out for discolored leaves, spots, and wilted stems. These could signal nutrient deficiencies, fungal infections, or overwatering.
Autoflowers don’t give you much time to fix problems, as you don’t choose when to move them into flowering. Ensure you keep their environment and feeding practices at optimum levels.
Avoid stressing the plant out towards the end of vegging. Apply LST methods, trimming, and pruning in the early to mid-veg stages.
Transitioning to the flowering stage
Autoflower plants transition into flowering after a set amount of time. This period typically occurs after 2–4 weeks of vegging.
Photoperiods require a change in the light cycle to start blooming. Take the light from 18 to 24 hours during vegging and drop the levels to 12 hours to trigger flowering. Your plants need less light and more rich potassium and phosphorus.
Recognizing the onset of the flowering stage
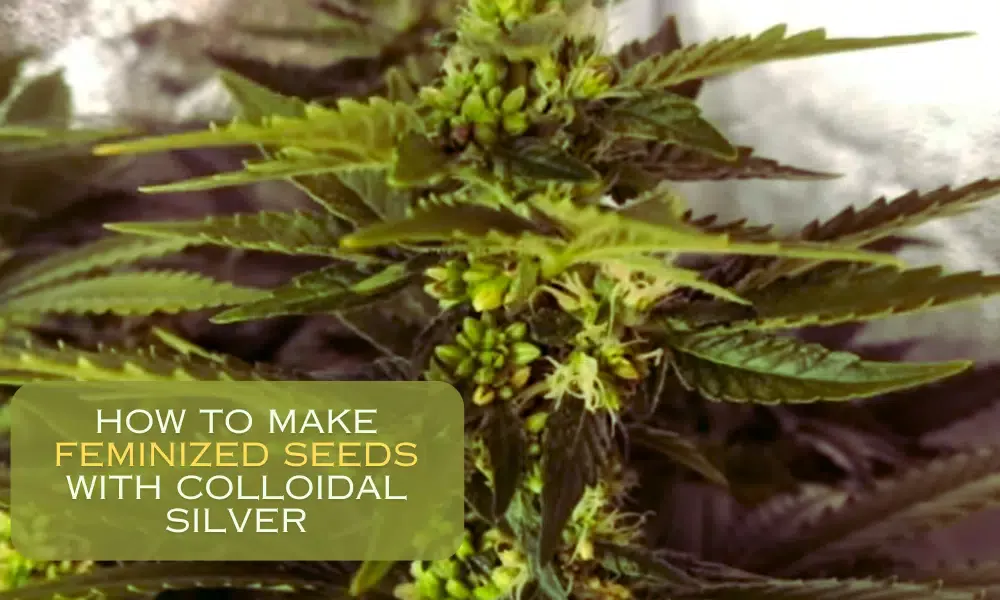
It’s easy to identify when your plants enter the flowering phase. Females produce pistils that have the appearance of white hair.
The areas with white pistils become bud sites. The plants form the nug locations in the nodes. When the cannabis crops are ready to bloom, you’ll spot clusters of pre-flowers.
Many growers prune the fan leaves. Be careful not to remove any pre-flowers, which tend to bunch up in these areas. Avoid touching the forming bud sites or you could harm your harvest.
Changing nutrient requirements
When cannabis is flowering, it doesn’t need as much nitrogen. The focus isn’t on developing foliage but on nourishing buds.
Feed blooming plants more potassium to stimulate bud growth. This nutrient also boosts the production of resin, leaving you with a potent yield. Use a 5:7:10 fertilizer during flowering to ensure plants reach their full yield potential.
Adjusting light and temperature conditions
Flowering cannabis crops have different environmental needs. It’s best to keep a 12/12 schedule and maintain temperatures of 68–77°F and RH at 50%.
Ensure the plants’ canopy is at least 12–16 inches away from the light when growing cannabis indoors.
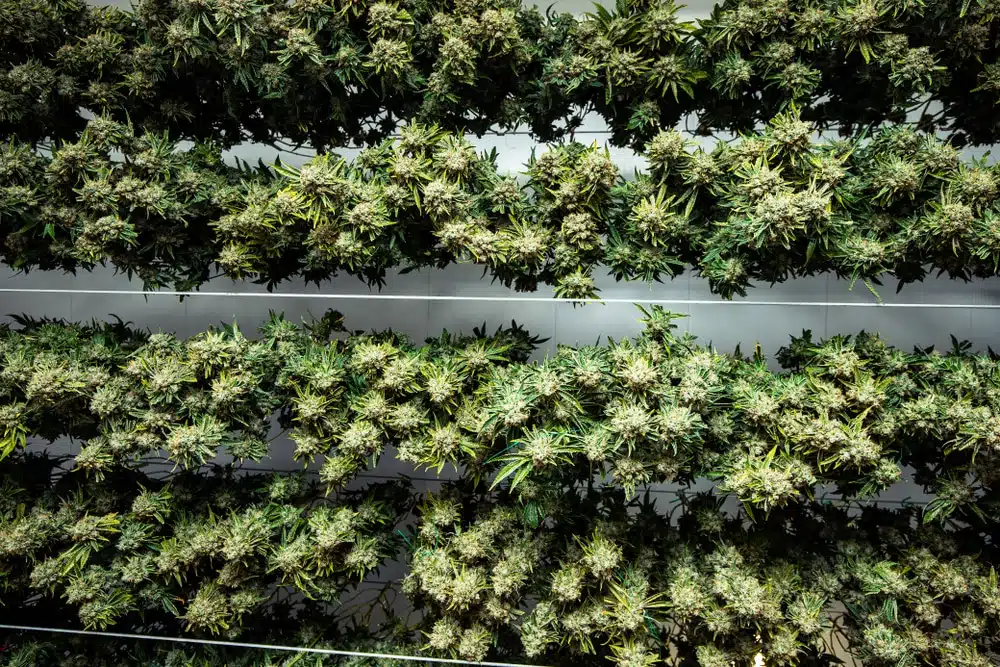
Harvesting your autoflowering cannabis
Harvest is the most exciting time for any grower. It’s when you reap the rewards of your hard work. Let’s unpack this stage.
When and how to harvest your buds
Knowing how to harvest your buds is essential. If you handle them roughly, all your hard work will be in vain. Your plants will let you know when they’re ready.
Signs that your plants are ready for harvest
When growing autoflowers, you usually know how long it takes from germination to yield. However, some key signs reveal your auto buds are harvest-ready.
Trichomes are sticky and clear throughout vegging and flowering. When they’re ready to harvest, they turn a cloudy shade. Here’s what each trichome color means:
- Clear: Immature buds that haven’t fully developed cannabinoid profiles. There’s little to no THC at this point.
- Cloudy: A perfect sign the buds are bursting with THC. The chemical changes that activate THC make the trichomes cloudy. Most growers harvest at this point for potent nugs.
- Amber/dark brown: When the buds are left longer than usual, THC dies down. Another compound, CBN, is amplified. Those looking for a less psychoactive experience should harvest at this point.
The trichomes are the main giveaway, but there are other signs your plants are ready for harvest:
- Orange or red pistils
- Yellowish fan leaves
- Strong cannabis aroma
The process of harvesting
Before harvesting your buds, there are a few things you should do to prepare them.
Flush your plants two weeks before harvest. This step removes chemicals, fertilizer, and organic pesticides. It ensures you get tasty nugs free from pollutants.
Stop using fertilizer and feed your plants with only water two weeks before harvest. In the end stage of flowering, plants don’t need high nutrition or water. The buds are already formed and just need time.
When you’re ready to harvest, follow these steps:
- Cut the branches at the base of the plant.
- Separate each branch and trim off big fan leaves or any infected or discolored foliage.
- Split the branches into individual buds.
- Hang the branches on a drying line for 2–3 days.
- Remember to use clean, sterilized equipment and wash your hands or use gloves.
Curing your buds for the best potency and flavor
After collecting your harvest, it’s time to cure the buds. This process involves aging or drying the plant matter so sugars and chlorophyll can decay.
Many plants, including tobacco, bay leaves, sagebrush, and tea leaves, are cured. It improves the taste and aromatic profile.
The importance of proper curing
Once you harvest your buds, the enzymes and bacteria break down the sugars. The sugars, starches, and excess nutrients cause the plant to dry up and rot if left uncured.
Curing cannabis reduces the moisture levels and eliminates contaminants of concern. It prevents harmful pathogens from growing on your smokeables. Retailers only stock cured weed, as it has a longer shelf life.
Uncured cannabis is prone to mold and bacteria growth. It also loses its aroma faster.
The curing process leaves you with a robust, clean, and smooth smoke. When done properly, it stops degradation. It preserves the cannabinoids, resulting in a potent puff.
Step-by-step guide to curing
Curing takes anywhere from two weeks to a month. You need a space with room temperature and low-to-moderate humidity.
Avoid wet areas, like the basement, as they could promote mold. The curing location should also have the option of turning off the lights. Dark rooms prevent the degradation of terpenes.
You will need the following equipment:
- Airtight jars
- Hygrometers
Follow these steps to cure your nugs:
- Place the buds into airtight jars.
- Loosely pack them so they aren’t crushed by each other or the lid.
- Seal the jars and store them in the curing area.
- Ensure the humidity inside the jars is 55–65%. Check this with a hygrometer.
- Burp the buds by opening the containers daily for a few minutes.
- In 2–4 weeks (sometimes longer), the buds will be aromatic and feel dry but not crumbly.
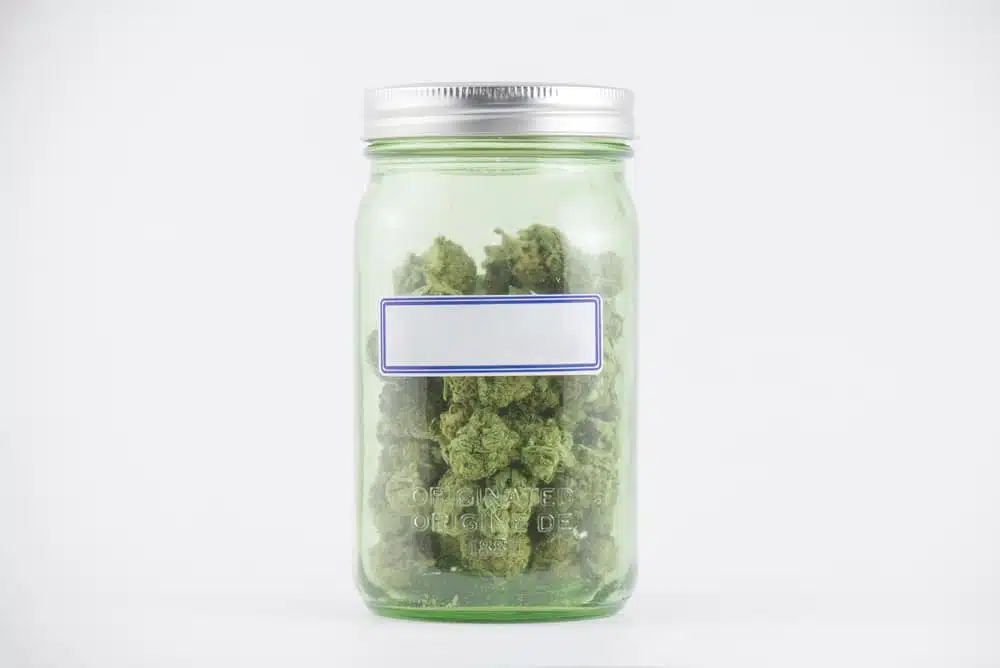
Overview of the 60-day process
Now that you know how to grow marijuana at home in 60 days, we hope you have many successful grows.
The great thing about this method is you can prepare new seedlings when the first batch is vegging. It gives you an endless loop of 60-day yields.
Tips for success in growing autoflowering cannabis at home
Cultivating cannabis indoors is easy, convenient, and efficient. Follow these tips to grow marijuana at home in 60 days and you’ll be rolling in buds:
- Use light, airy soil
- Avoid high-stress training or low-stress training too close to flowering
- Keep the environment warm and prevent high humidity
The key is to pick the best cannabis seeds. Shop our collection of top-shelf seeds at The Seed Fair and grow high-quality cannabis buds.
FAQs about growing autoflowering cannabis
Here are some common questions about how to grow marijuana at home in 60 days and our expert answers:
Which are the best strains for quick indoor grows?
Autoflower strains offer speedy indoor growth. They’re similar to fast flowering cultivars and deliver moderately sized plants.
Where can I grow cannabis seeds indoors with limited space?
You can grow cannabis seeds anywhere with low humidity. Examples include a bedroom closet, kitchen cupboard, and even a cardboard box.
How will I know when plants are ready to harvest?
The telltale sign that reveals cannabis plants are harvest-ready is milky trichomes.

