Cannabis Feeding Schedule
Marijuana plants require the proper amounts of water, carbon dioxide, and light to thrive. They also need the correct nutrients and an appropriate cannabis feeding schedule for each growth stage.
As the plants mature, they need more nourishment, and it’s best to alter the nutrient mix once they start flowering.
You should adjust the nutrients to the crop’s needs to get the most from your plants and reap high-quality buds with stellar effects. Too many of the wrong nutes may also affect healthy growth.
Keep reading to learn more about how to feed your plants using a customized feeding schedule.
Understanding cannabis plants’ nutrient requirements
When growing cannabis plants from seeds, abundant yields and healthy development depend on several factors.
To make the absolute most of any strain’s genetics, ensure you provide top-notch lighting, keep their water at the perfect pH levels, and tailor their nutrients to their needs.
Let’s explore the various facets of cannabis nutrition for plant growth.
Macronutrients
The three main nutrients for any marijuana plant to flourish are nitrogen (N), phosphorus (P), and potassium (K). These are known as the N-P-K ratios and are the primary building blocks for most plants to thrive.
Plants require varying amounts of each at different times in their life cycle.
Nitrogen is the most crucial nutrient in plant growth. It’s vital in photosynthesis since it’s a component of the chlorophyll molecule.
It contributes to the green color of plants, with yellow leaves indicating possible nitrogen deficiency.
Phosphorous aids in the breakdown of sugar and starch. It helps pass genetic information from one generation to another and transports energy through plant cells.
Potassium moves water, minerals, and crucial carbohydrates throughout the plant tissue. It’s essential for exchanging carbon dioxide, oxygen, and water vapor.
These macro nutrients need adjusting depending on the crop’s current growth cycle.
A vegetating cannabis plant requires higher amounts of nitrogen, with less potassium and phosphorus.
When the plant begins flowering, it needs far less nitrogen but increased phosphorus and potassium.
Micronutrients
Micronutrients are secondary and only required in smaller amounts but are equally important as N-P-K.
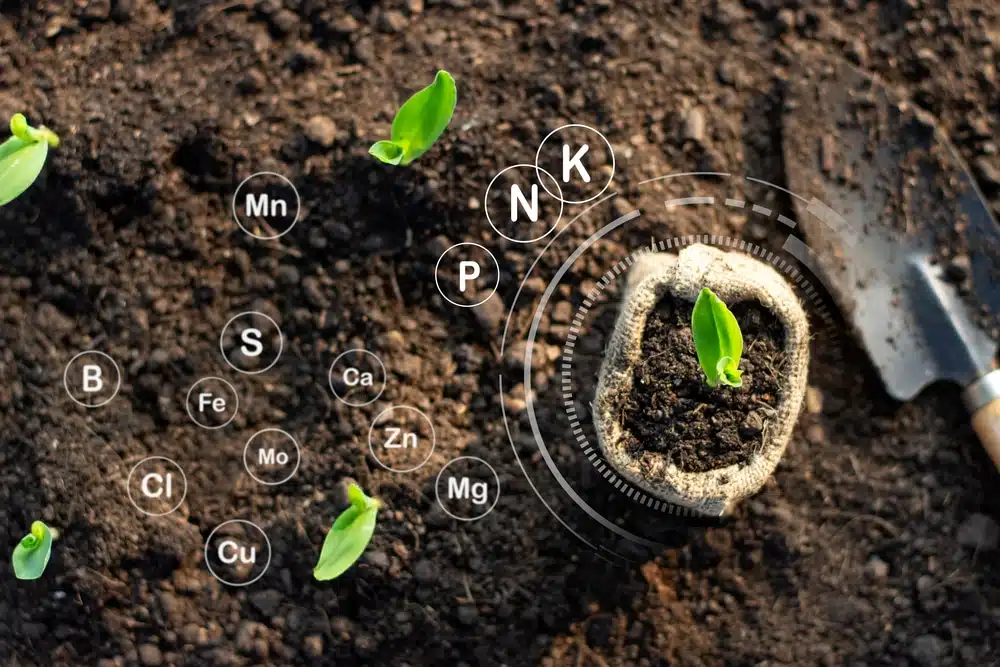
The right nutrient mixture should contain the following essential micronutrients:
- Zinc
- Sulfur
- Molybdenum
- Magnesium
- Manganese
- Iron
- Copper
- Calcium
- Boron
These contribute significantly to overall plant health in the same way Vitamin C in small amounts can help humans avoid issues.
Slow-release nutrients
Slow-release nutrient solutions usually come in powder or pellet form. They provide a cheaper alternative, gradually make minerals available to the plants, and are easy to spread or pre-mix with the soil.
Not many growers opt for this feeding technique, but it can be a handy tool for those on a budget. Remember to not use all the nutrients at once and only use a small percentage of the recommended amount to avoid burning your plants.
Nutrient deficiency
Growing cannabis plants requires you to provide various micro and macro nutrients depending on the different growth stages.
If you grow marijuana crops without supplying all their nutrients, deficiencies can occur, resulting in poor bud development and stunted growth.
Look out for signs that your plants need more nutrients: Leaves curling, displaying discoloration, or forming brown spots are obvious symptoms. The structure may also have irregular growing patterns, fewer bud sites, or stunted development.
To fix these issues, include more of a specific mineral, switch to a different nutrient mix, and prune dead sections before they spread.
Nutrient burn
If growers feed their crops excess nutrients, it can “burn” them, affecting the entire structure and damaging vital tissues and plant cell walls.
Early warning symptoms of nutrient burn typically form on the leaves first, causing them to turn a deeper shade of green. Their tips start curling and twisting up, turning yellow and brown, and they eventually die and fall off.
The best remedy for nutrient toxicity is to flush the soil, remove damaged sections, and amend your feeding schedules to reduce specific minerals.
Nutrient lockout
What you feed your plants can affect their growth. Nutrient lockout happens when plants receive more nutes than they can absorb, raising the EC levels of the soil.
The plant structure becomes stunted and weak, and the leaves may start curling or yellowing. Using gadgets to monitor the soil quality can help you maintain the correct EC and pH levels.
If you notice a lockout, flush the soil to eliminate excess cannabis nutrients, and then resume normal feeding with a more diluted solution.
Organic vs. chemical cannabis nutrients
Below is a brief comparison of synthetic and organic nutrients to help you choose the most effective one according to your feed chart.
Organic fertilizers
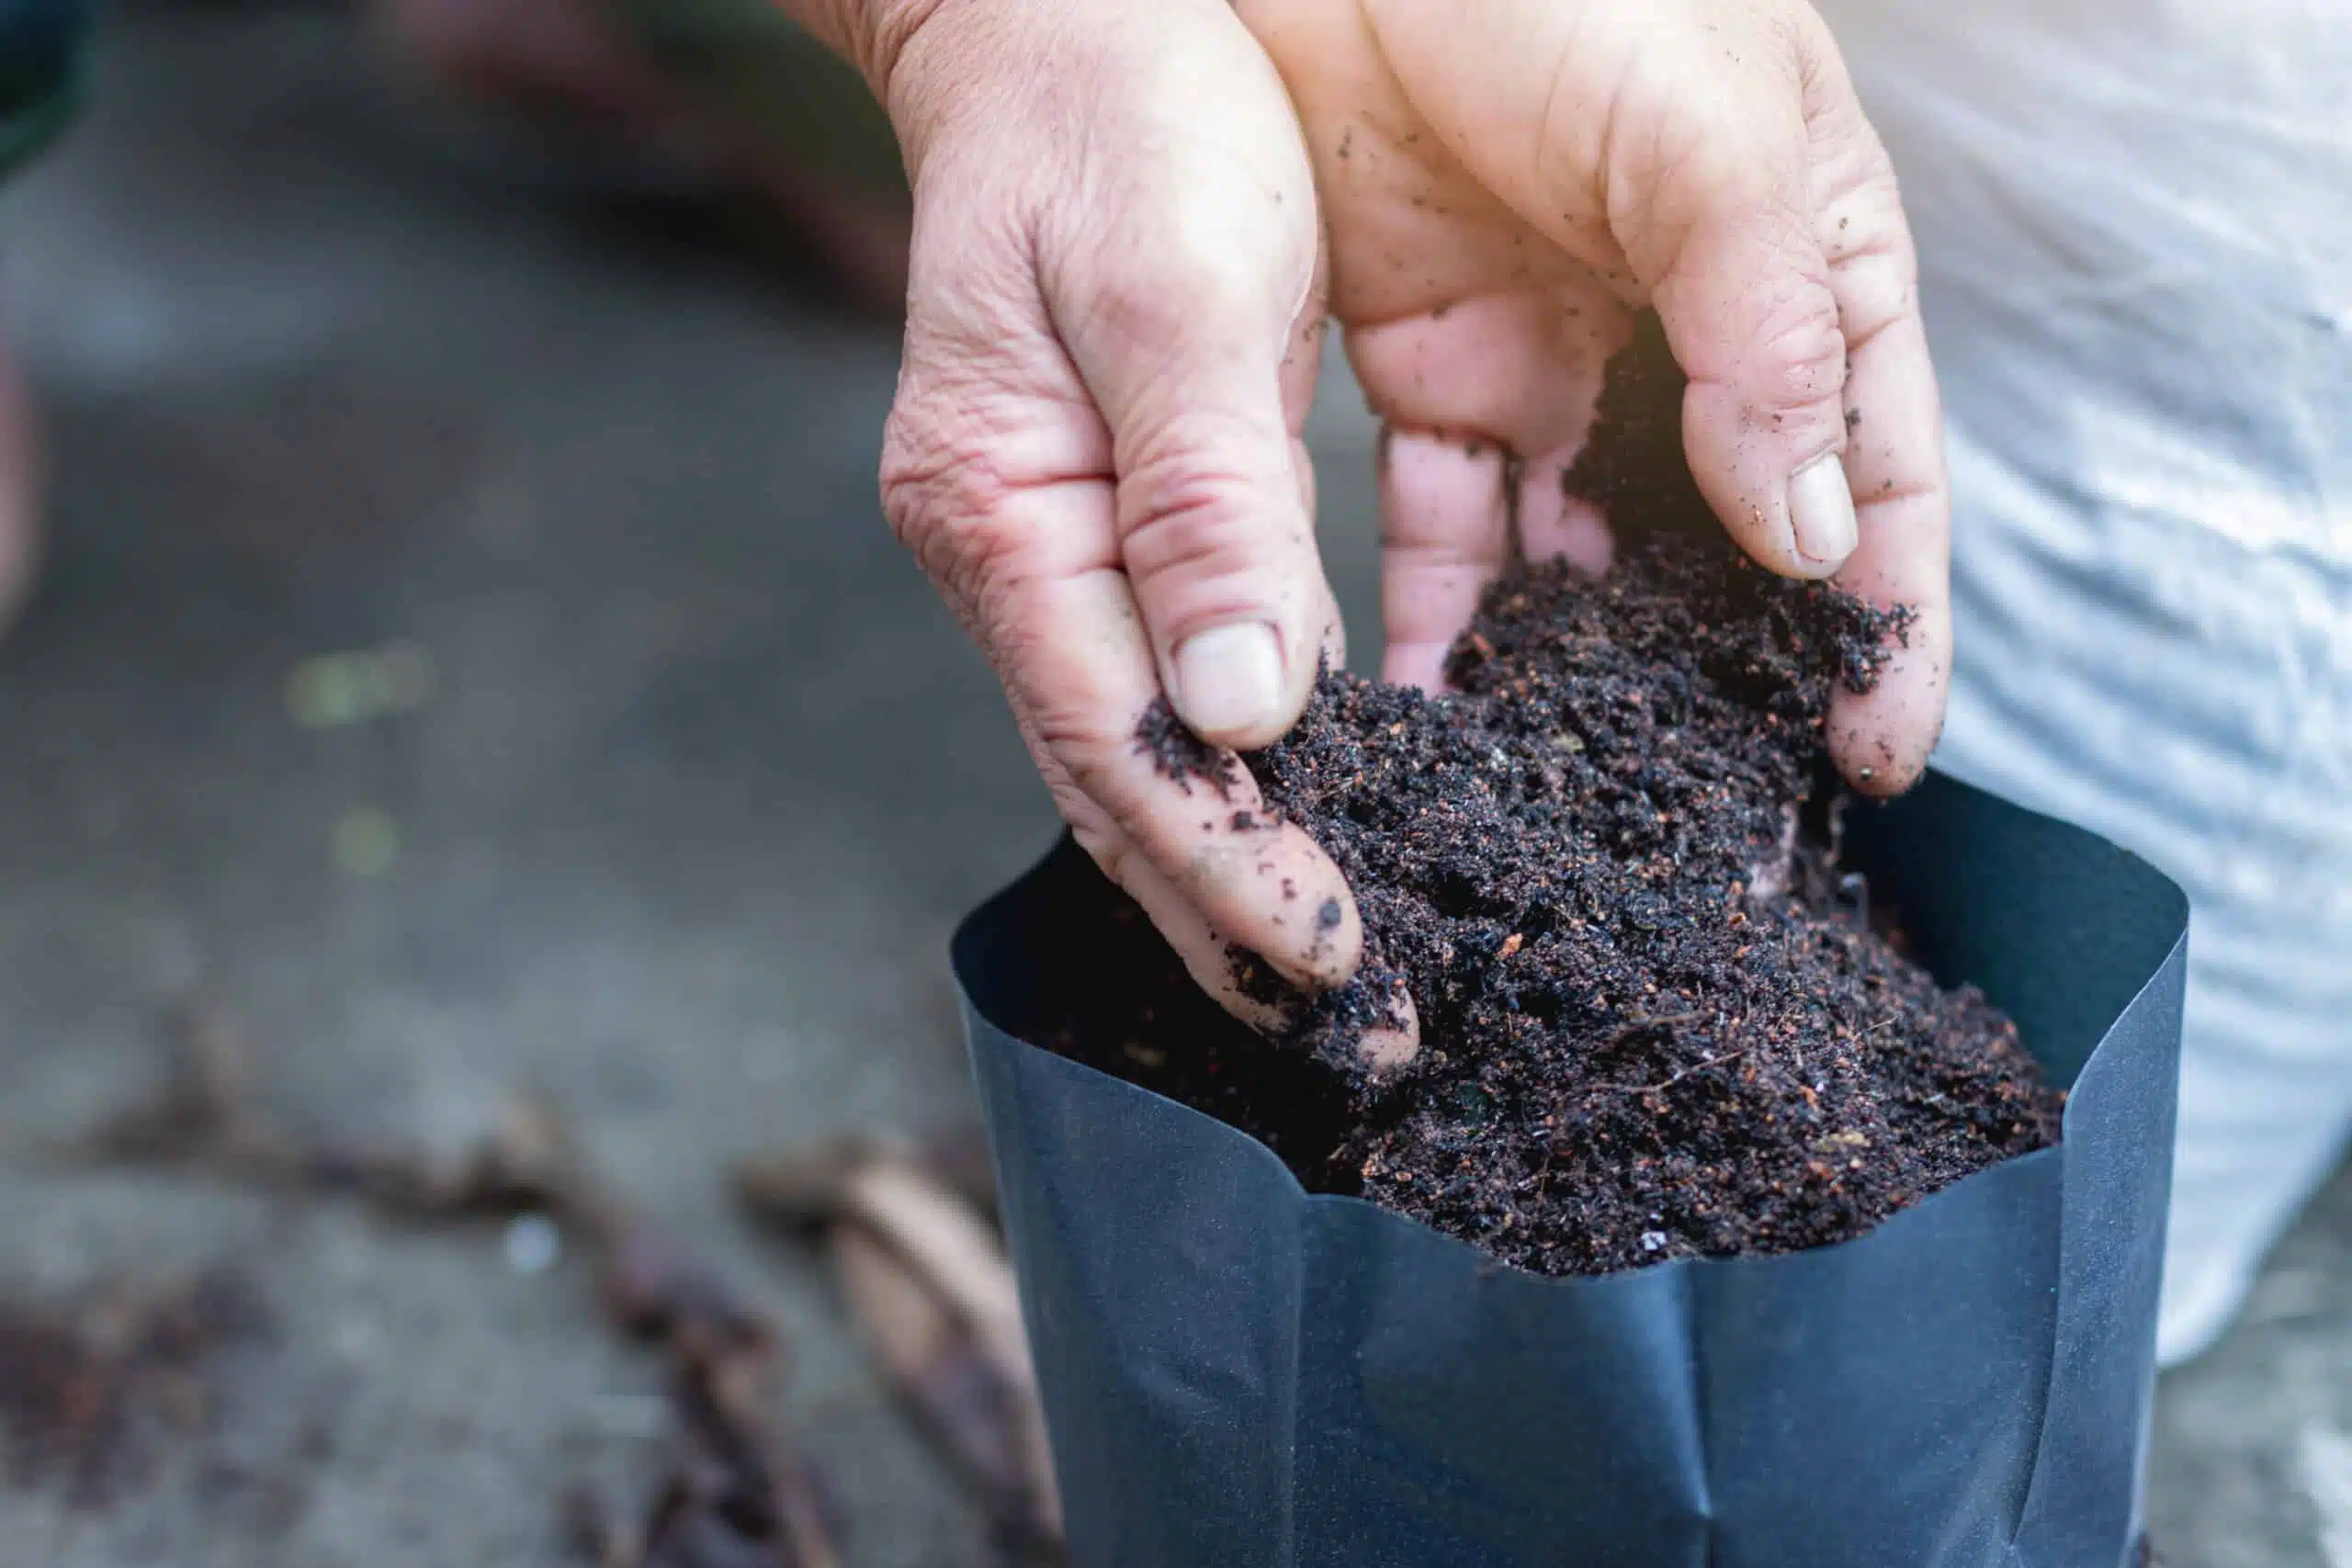
Organic fertilizers are 100% natural substances. They provide beneficial minerals by releasing microorganisms that metabolize and break down particular soil constituents.
The best organic fertilizers contain ideal levels of macro and micronutrients. Some top choices include manure, bone meal, blood meal, and worm castings.
Chemical fertilizers
Chemical fertilizers usually originate from partially or entirely synthetic sources. Given their artificial nature, they could include undesirable by-products or acids, harming beneficial microorganisms and bacteria in your growing medium.
These fertilizers are more popular among hydroponic cannabis growers, as they don’t clog up the system’s pipes and dissolve easily in the water.
Examples of chemical fertilizers include ammonium phosphate, ammonium sulfate, and ammonium chloride.
Cannabis nutrients: Mobile vs. immobile
The movement and availability of nutrients in the soil are essential for distribution across the plant to ensure healthy growth.
Mobile nutrients are ones the plant can move around its structure as required. New growth typically receives most mobile nutrients, so old sections usually reflect deficiencies first.
Immobile nutrients refer to ones the plant finds more challenging to redirect as needed. Deficiencies of these minerals typically reflect in new growth because of an inability to access them. Symptoms only display in old sections later.
Nutritional requirements for outdoor cannabis plants
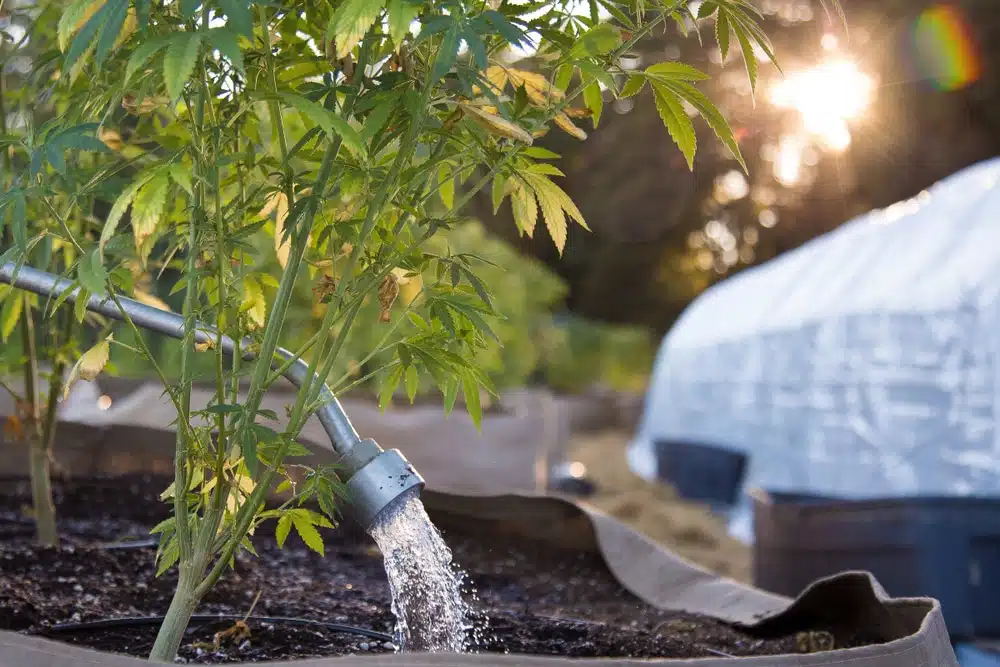
Outdoor cannabis plants may not require additional nutrients if the soil is high-quality, moist, and mineral-rich.
Outdoor marijuana benefits from precise nutrition management, so following the correct feed charts allows novice growers to supply the right amount of nutrients.
You can also utilize more natural techniques to enrich your soil before planting, and the use of slow-release organic nutrients is popular among outdoor growers.
All-purpose bloom nutrients are ideal for plants exiting vegetation and entering the flowering growth stage.
When should I start feeding my outdoor cannabis plants?
Seasoned cannabis growers learn to “read” their marijuana plant’s signals when it needs additional nutrients.
If you’re growing the plants in small containers, feed them daily as harvest time draws closer.
If you planted them directly in high-quality soil, consider adding general-purpose bloom nutrients when they start flowering.
Nutritional requirements for indoor cannabis plants
Growing cannabis indoors puts you in control of many environmental factors, including the correct minerals for your plants.
A “light” soil mix loses nutrients faster than a rich one reinforced with additional food. Large plants consume minerals more quickly than small or medium ones.
Extend the time the soil offers nutrition to your plant by using slow-release organic cannabis nutrients.
If you’re cultivating autoflowers in large soil airpots, add bloom mix once flowering begins.
When should I start feeding my indoor cannabis plants?
If growing indoors with small half-gallon plant containers, you may need to add moderate doses of vegging nutrient solutions after a few weeks.
You shouldn’t need additional cannabis nutrients if cultivating in large containers (10–15 gallons) with slow-release organic nutes.
Only provide extra minerals at the end of the flowering stage.
For hydroponic growers, the entire feeding process depends entirely on your environment and growing technique.
A general rule is to start feeding cannabis plants when they’re around three or four weeks old and have sprouted two to three sets of leaves.
What are TDS and EC?
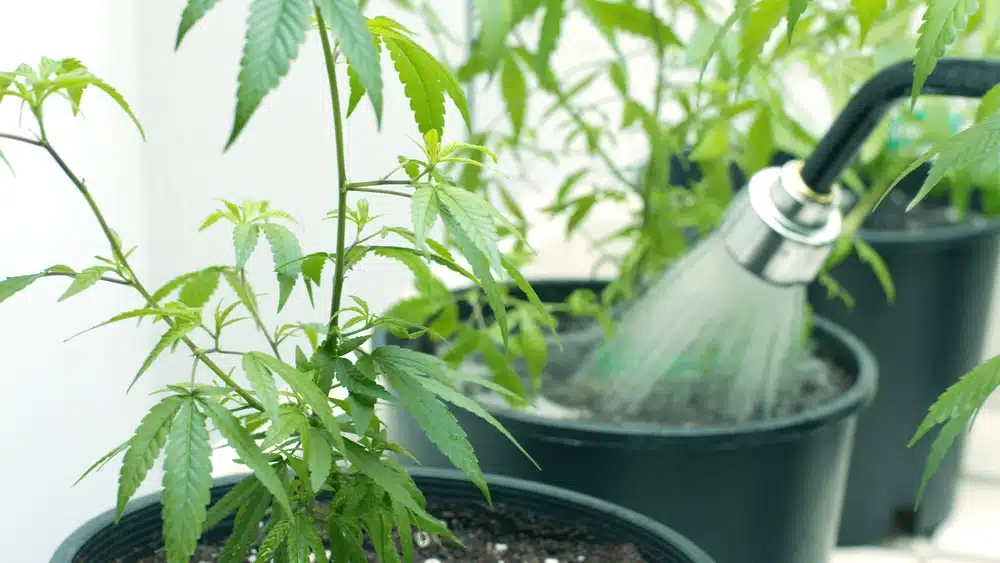
Total Dissolved Solids (TDS) are measured in parts per million (ppm). The measurement expresses the total quantity of water-dissolved minerals and the potency or concentration of your nutrient solution.
Electrical conductivity (EC) tells you how well solids conduct electricity after they dissolve. It’s measured in micro or milliSiemens, picking up on positive ions from the metal sodium or negative ions from the non-metal chlorine.
Both ions promote electrical current conduction in water and adding small amounts of nutrients, particularly phosphates and nitrates, can affect the EC levels.
Here are the optimum EC and TDS levels for each growth stage:
- Seedling: 1.0–1.2 EC and 500–600 PPM
- Vegetation: 1.6–1.8 EC and 800–900 PPM
- Flowering: 2.0–22 EC and 1000–1100 PPM
- Pre-harvest: 0.8–1.0 EC and 400–500 PPM
Cannabis feeding schedule by growth stage
Nitrogen-rich foods promote the growth of leaves, branches, and roots during the early stages of development.
Understanding plant nutrition is vital because the requirements fluctuate as crops mature.
Adhere to an ideal cannabis feeding schedule to become accustomed to the requirements of the plants.
Below is a sample you can follow based on each stage of growth.
Germination
A seed contains every nutrient a plant requires during germination. At this point, your top priority should be to give it a warm, dark, and humid environment.
Depending on your preferred germination technique, transplant the seedling in high-quality soil once the taproot appears.
Seedling stage
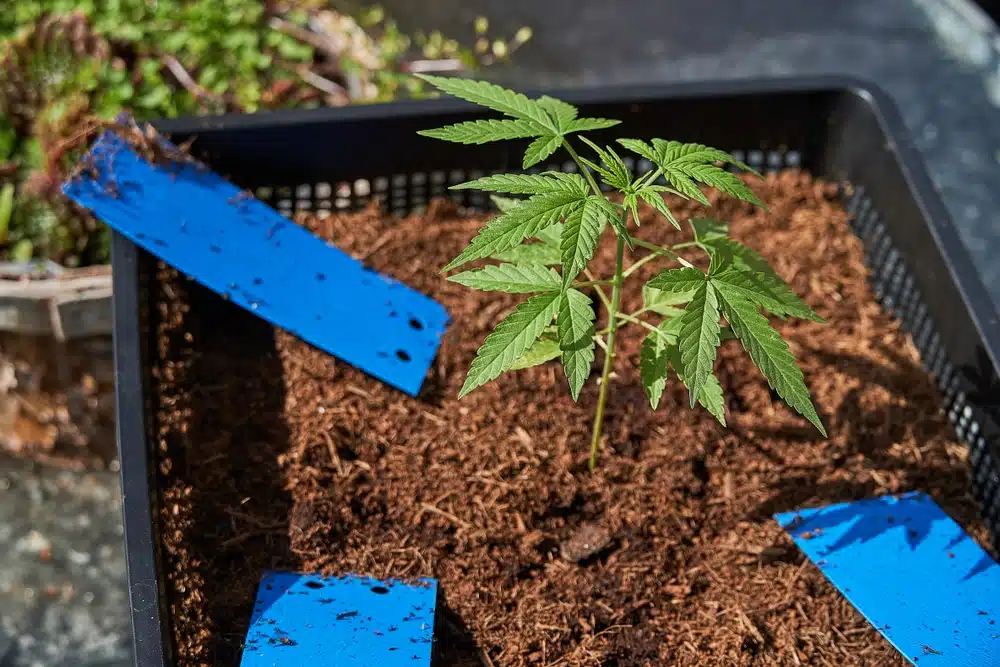
With regular hydration, you won’t have to feed the plants until they are three to four weeks old. Covered seedling trays assist in keeping them cozy and safe.
Vegetative stage: Week 1
It’s time to move the cannabis seeds to their permanent home once they reach the vegetative phase. Utilize a simple pre-fertilized soil mix at this point.
Some soil brands adjust automatically to the ideal marijuana pH level, but your plants may exhibit signs of nutrient deficiency if it’s sub-optimal.
The ideal pH range is between 6.0 and 6.5.
Avoid soil mixtures that have slow-release or extended nutrients and are excessively fertilized.
Young plants need a week to adjust to sunlight or grow lights.
Use MH (metal halide) or full spectrum LED lamps for indoor grows to provide marijuana with the proper color spectrum.
Depending on their intensity, ensure you place the lights high enough above the plants to prevent burning the leaves, and keep them on for 18 hours per day.
Maintaining the ideal temperatures and humidity is also essential throughout cultivation.
Keep the temperature at around 64 °F at night and 73–77 °F during the day. Maintain relative humidity levels at 60–70%.
Water the plants every other day with roughly 250 ml per plant.
You shouldn’t need additional nutrients since your plants can still acquire sufficient amounts from the pre-fertilized soil.
Vegetative stage: Week 2
Now it’s time to turn on the lights and move them closer to the plants, about 20 inches away. Holding your hand beneath the lamp allows you to feel the heat. Your plants will likely experience heat stress if it’s too hot for you.
Keep the lights on in your grow room for 18 hours daily and maintain the same humidity and temperature levels.
Aim a fan at the top of your crop so the plants start swaying a little. The breeze, along with the movement, helps your plants grow stronger and develop more robust stems.
Provide around 500ml of water to your plants every other day or when the first inch of soil is dry.
Start feeding your plants with cannabis nutrients: The essential ingredient for promoting rapid growth during vegetation is nitrogen, so use a fertilizer mix that’s rich in it.
Maintain a TDS/EC ratio of 500/1.0.
Flowering stage: Week 1
Adjust your light schedule to 12 hours off and 12 hours on to imitate the autumn timeline so your plants switch to flowering.
Change to HPS (high-pressure sodium vapor) lighting, as the pink and orange lights help flowering plants produce the best buds.
The plants need the same high-nitrogen nutrition mix at this stage but require more water, so increase the amount to around one liter.
Apply the nutrient mixture from below by spraying it around the base, and ensure the TDS/EC ratio is 600/1.2.
Maintain the temperature at around 64°F at night and 77°F during the daytime, with 60% humidity.
Flowering stage: Week 2
The plants start developing very quickly at this point, so always keep them around 20 inches from the lights and maintain the 12/12 schedule.
Increase the temperatures to about 67°F at night and 79°F during the day, but keep the humidity at 60%.
Provide a nutrient level of 650 TDS/1.3 EC and water each plant every other day with 2 liters of water.
Rinse the soil with 6.5 pH water at the end of the week.
Flowering stage: Week 3
Change your nutrient mix to one with higher levels of phosphorus, as your plants need it for proper bud formation.
Flush the roots and soil first to eliminate the extra nitrogen and speed up phosphorus absorption.
The nutrient level on your feeding schedule must be at 700 TDS/1.4 EC, and you should keep providing 2 liters of water to each plant.
Flowering stage: Week 4
Increase the water as crops go through a big growth spurt at this point. Around 2.5 liters is ideal, ensuring you maintain a 1.5 EC nutrient concentration.
Keep the same temperature and light schedule without letting humidity levels rise above 50%.
Flowering stage: Week 5
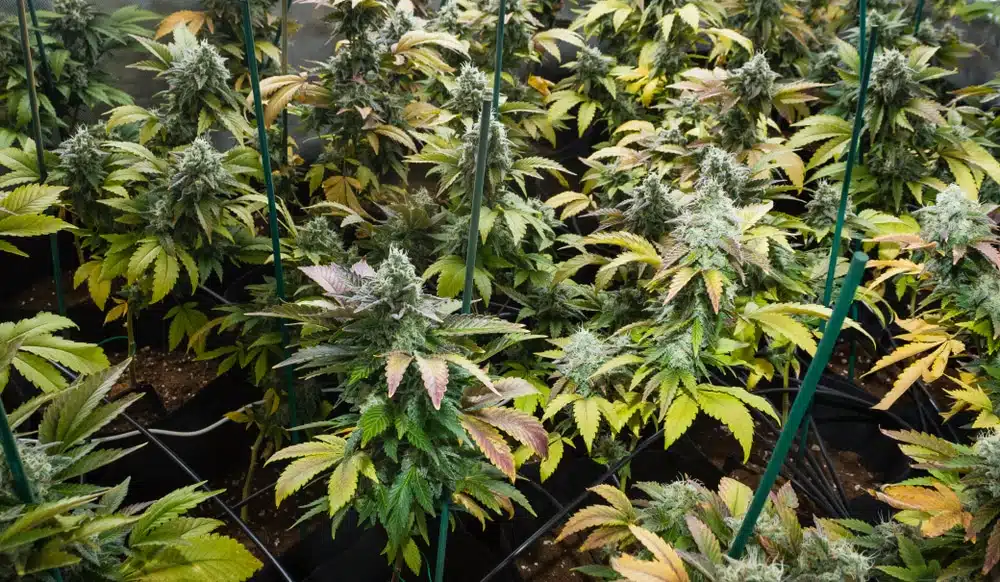
There should be noticeable bud development at this point. Maintain the humidity, temperature, and lighting in your growing environment.
Stick to the same watering schedules to keep the plants healthy.
At the start of the week, give the plants a more robust nutrient solution of around 800 TDS/1.6 EC.
Flush your crop with 6.5 pH water at week’s end.
Flowering stage: Week 6
Your plants need more potassium to aid in the ripening and hardening of the buds.
Use a booster and regular bloom fertilizer to maintain nutrient levels and prevent a problem like potassium deficiency.
Maintain a TDS/EC nutrient solution of below 850/1.7.
Ensure the grow area is well-ventilated with 40% humidity, preventing diseases and improving CO2 circulation.
From week six to eight, maintain the same humidity and temperature levels.
Flowering stage: Week 7
The buds continue to grow and ripen, and you start seeing large amounts of dense resin production with potent terpenes. It’s normal for the lower leaves of a cannabis plant to turn yellow and fall at this point.
Reduce the nutrient concentration to 750 TDS/1.5 EC without changing the water and light schedule to prepare for harvesting.
Flowering stage: Week 8
Just before the start of this week, use fresh water to flush the soil. Feed the plants with a lower solution with 250 TDS/0.5 EC ratio to avoid nutrient burn.
Only use plain water at this point and stop providing fertilizer a few days before harvest.
The right cannabis feeding schedule = Healthy, happy plants
Marijuana plants grown according to an ideal cannabis feeding schedule can prevent nutrient deficiencies and ensure abundant harvests.
More nitrogen is essential during the vegetative stage, while more phosphorus and potassium are crucial during the flowering stage.
TDS/EC meters can help you determine the correct cannabis nutrient concentration and eliminate the guesswork.
Visit The Seed Fair for more information on how to feed your plants for optimal growth and yields. Check out our selection of high-quality seeds and order today to take advantage of the latest deals.

